← Publishing Setup | Screenshots →
Part 2: Theming
Goals
Improve the legibility and appearance of the default theme for a Digital Garden.
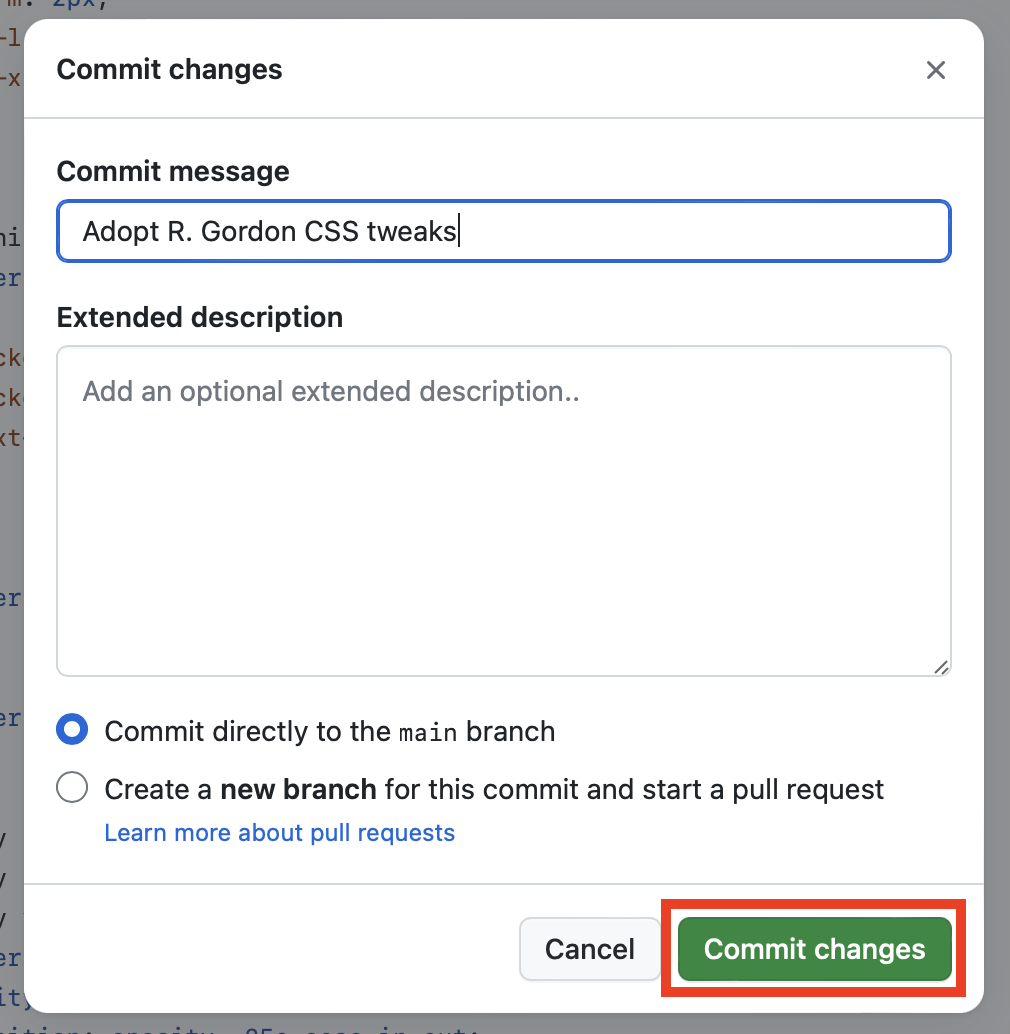
The default appearance of a published Digital Garden is not particularly appealing:
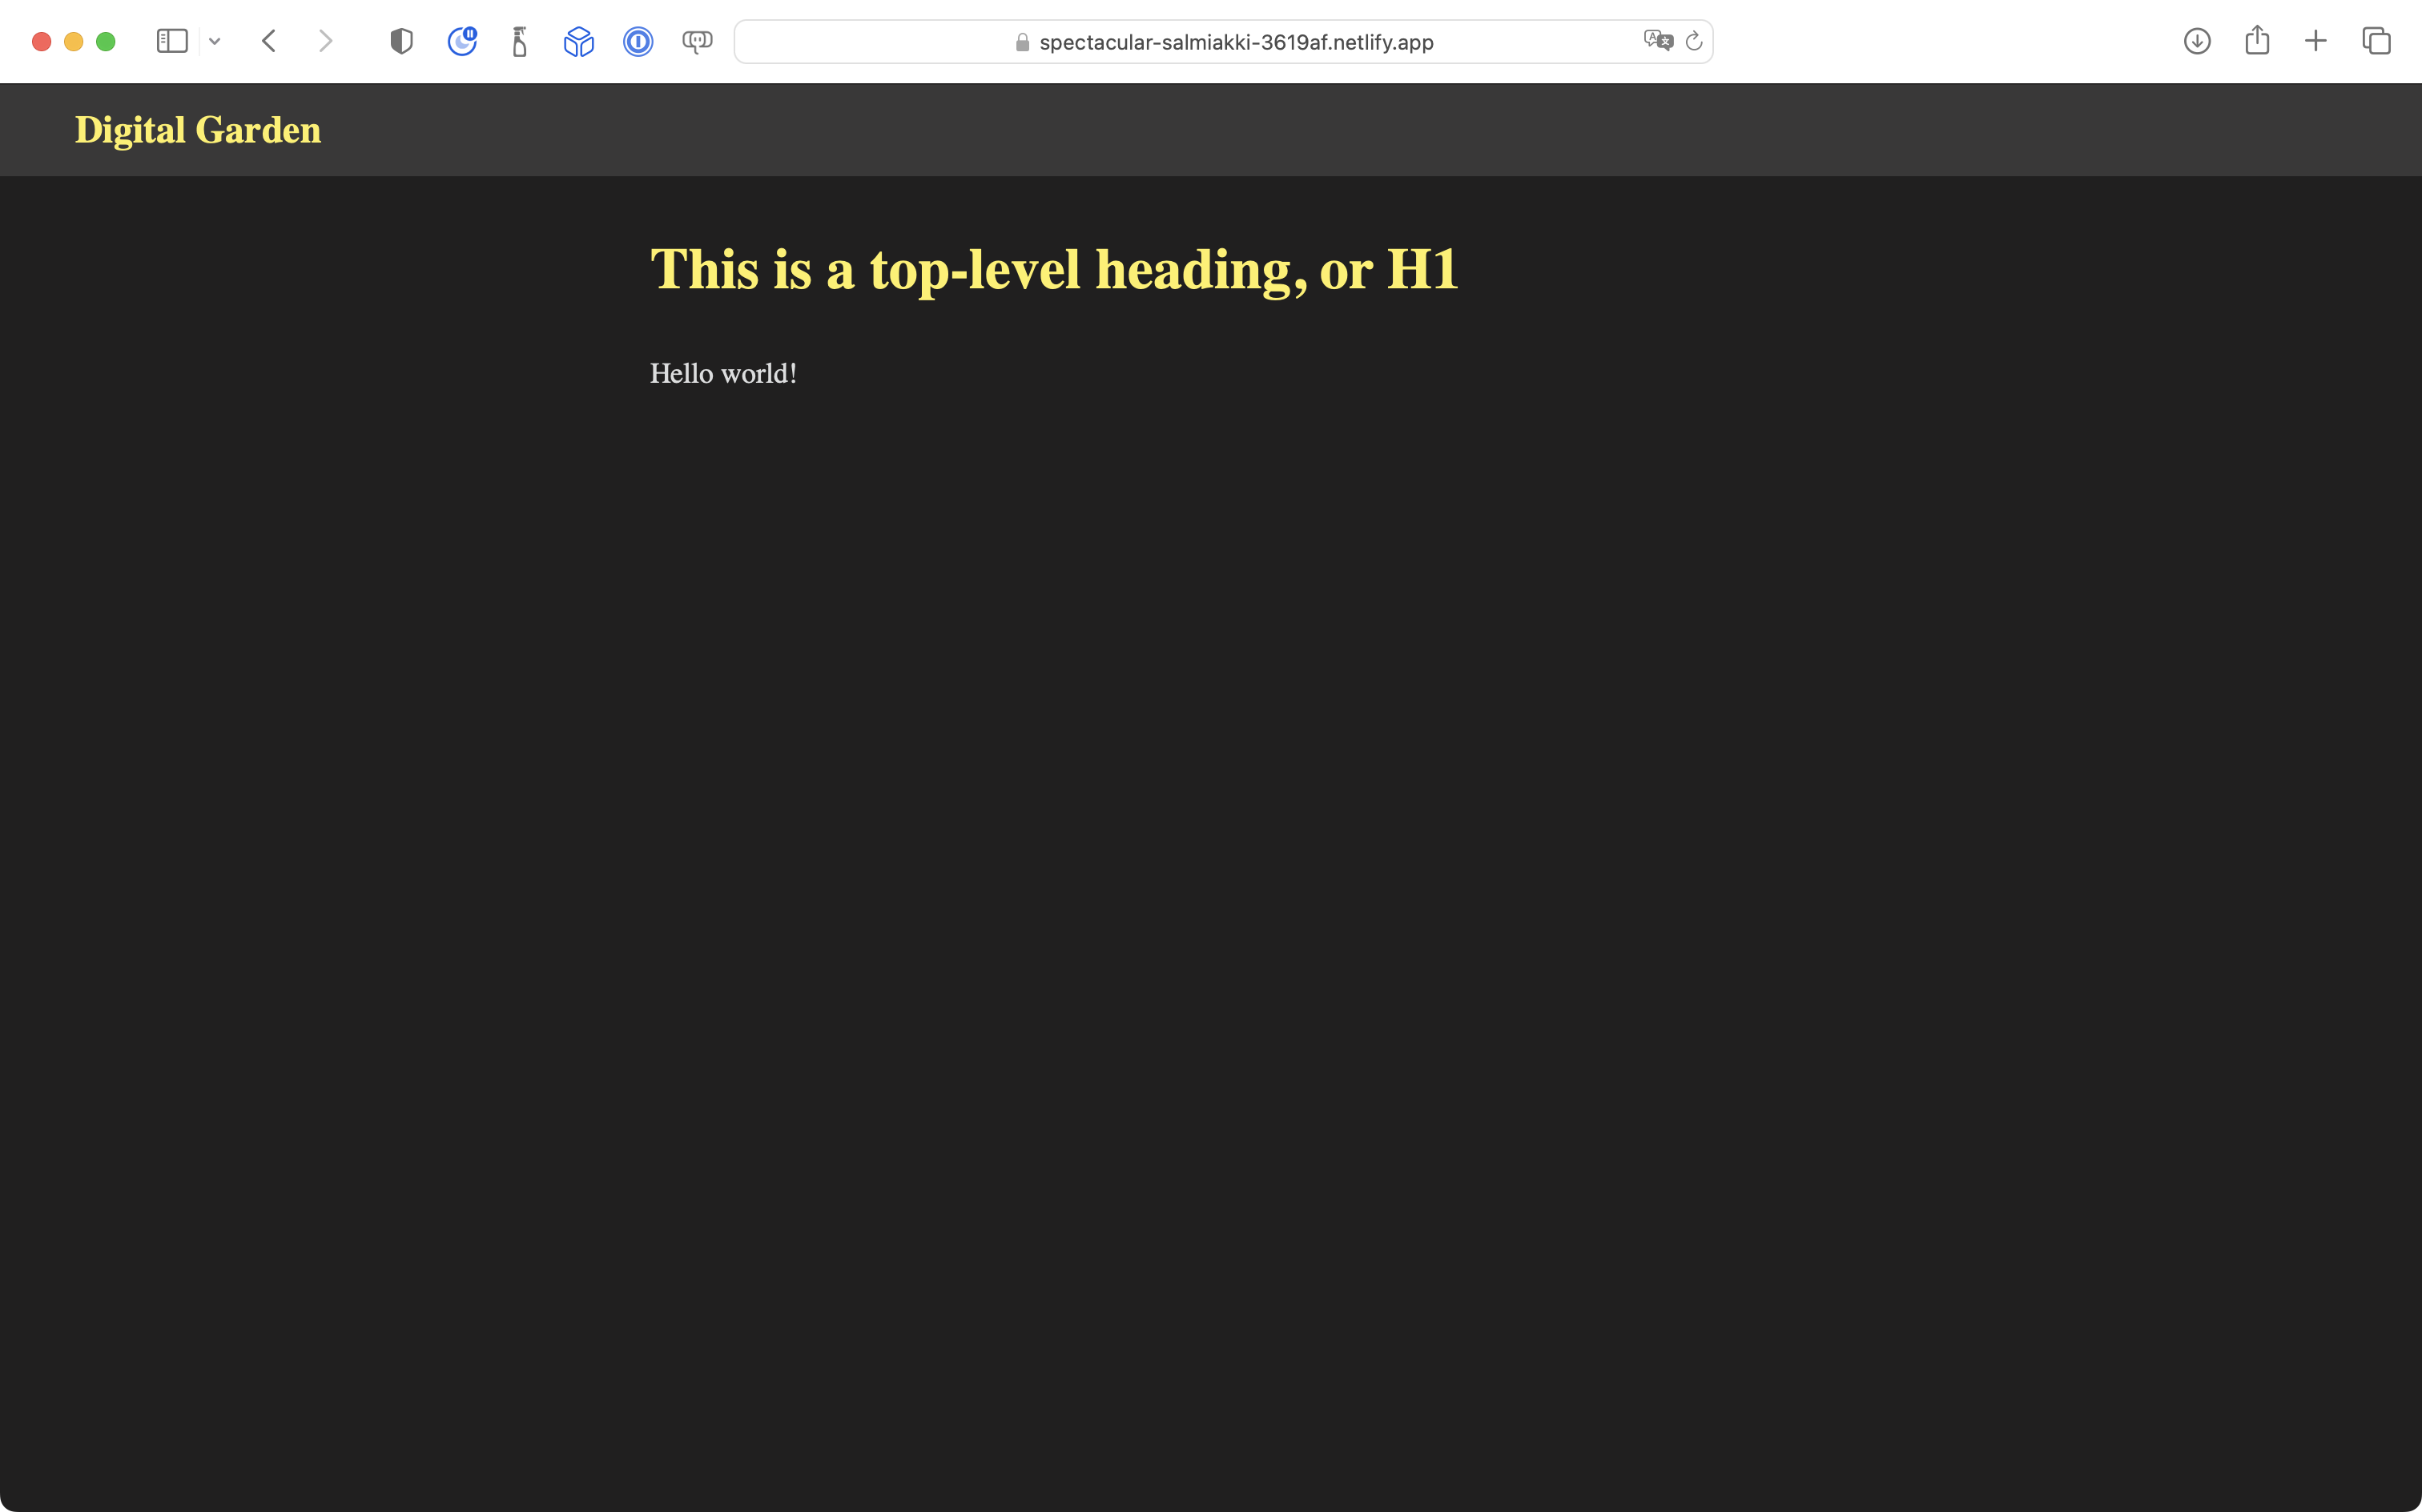
Obsidian can be themed both locally to control how content appears on your computer, and then the Digital Garden plugin can use the same theme – or a different one – to control how content appears on your published website.
In this second part of the tutorial series, our goal will be to set up Obsidian and the published website so that their themes match, are reasonably presentable, and easy for our students to use.
Steps to Complete
-
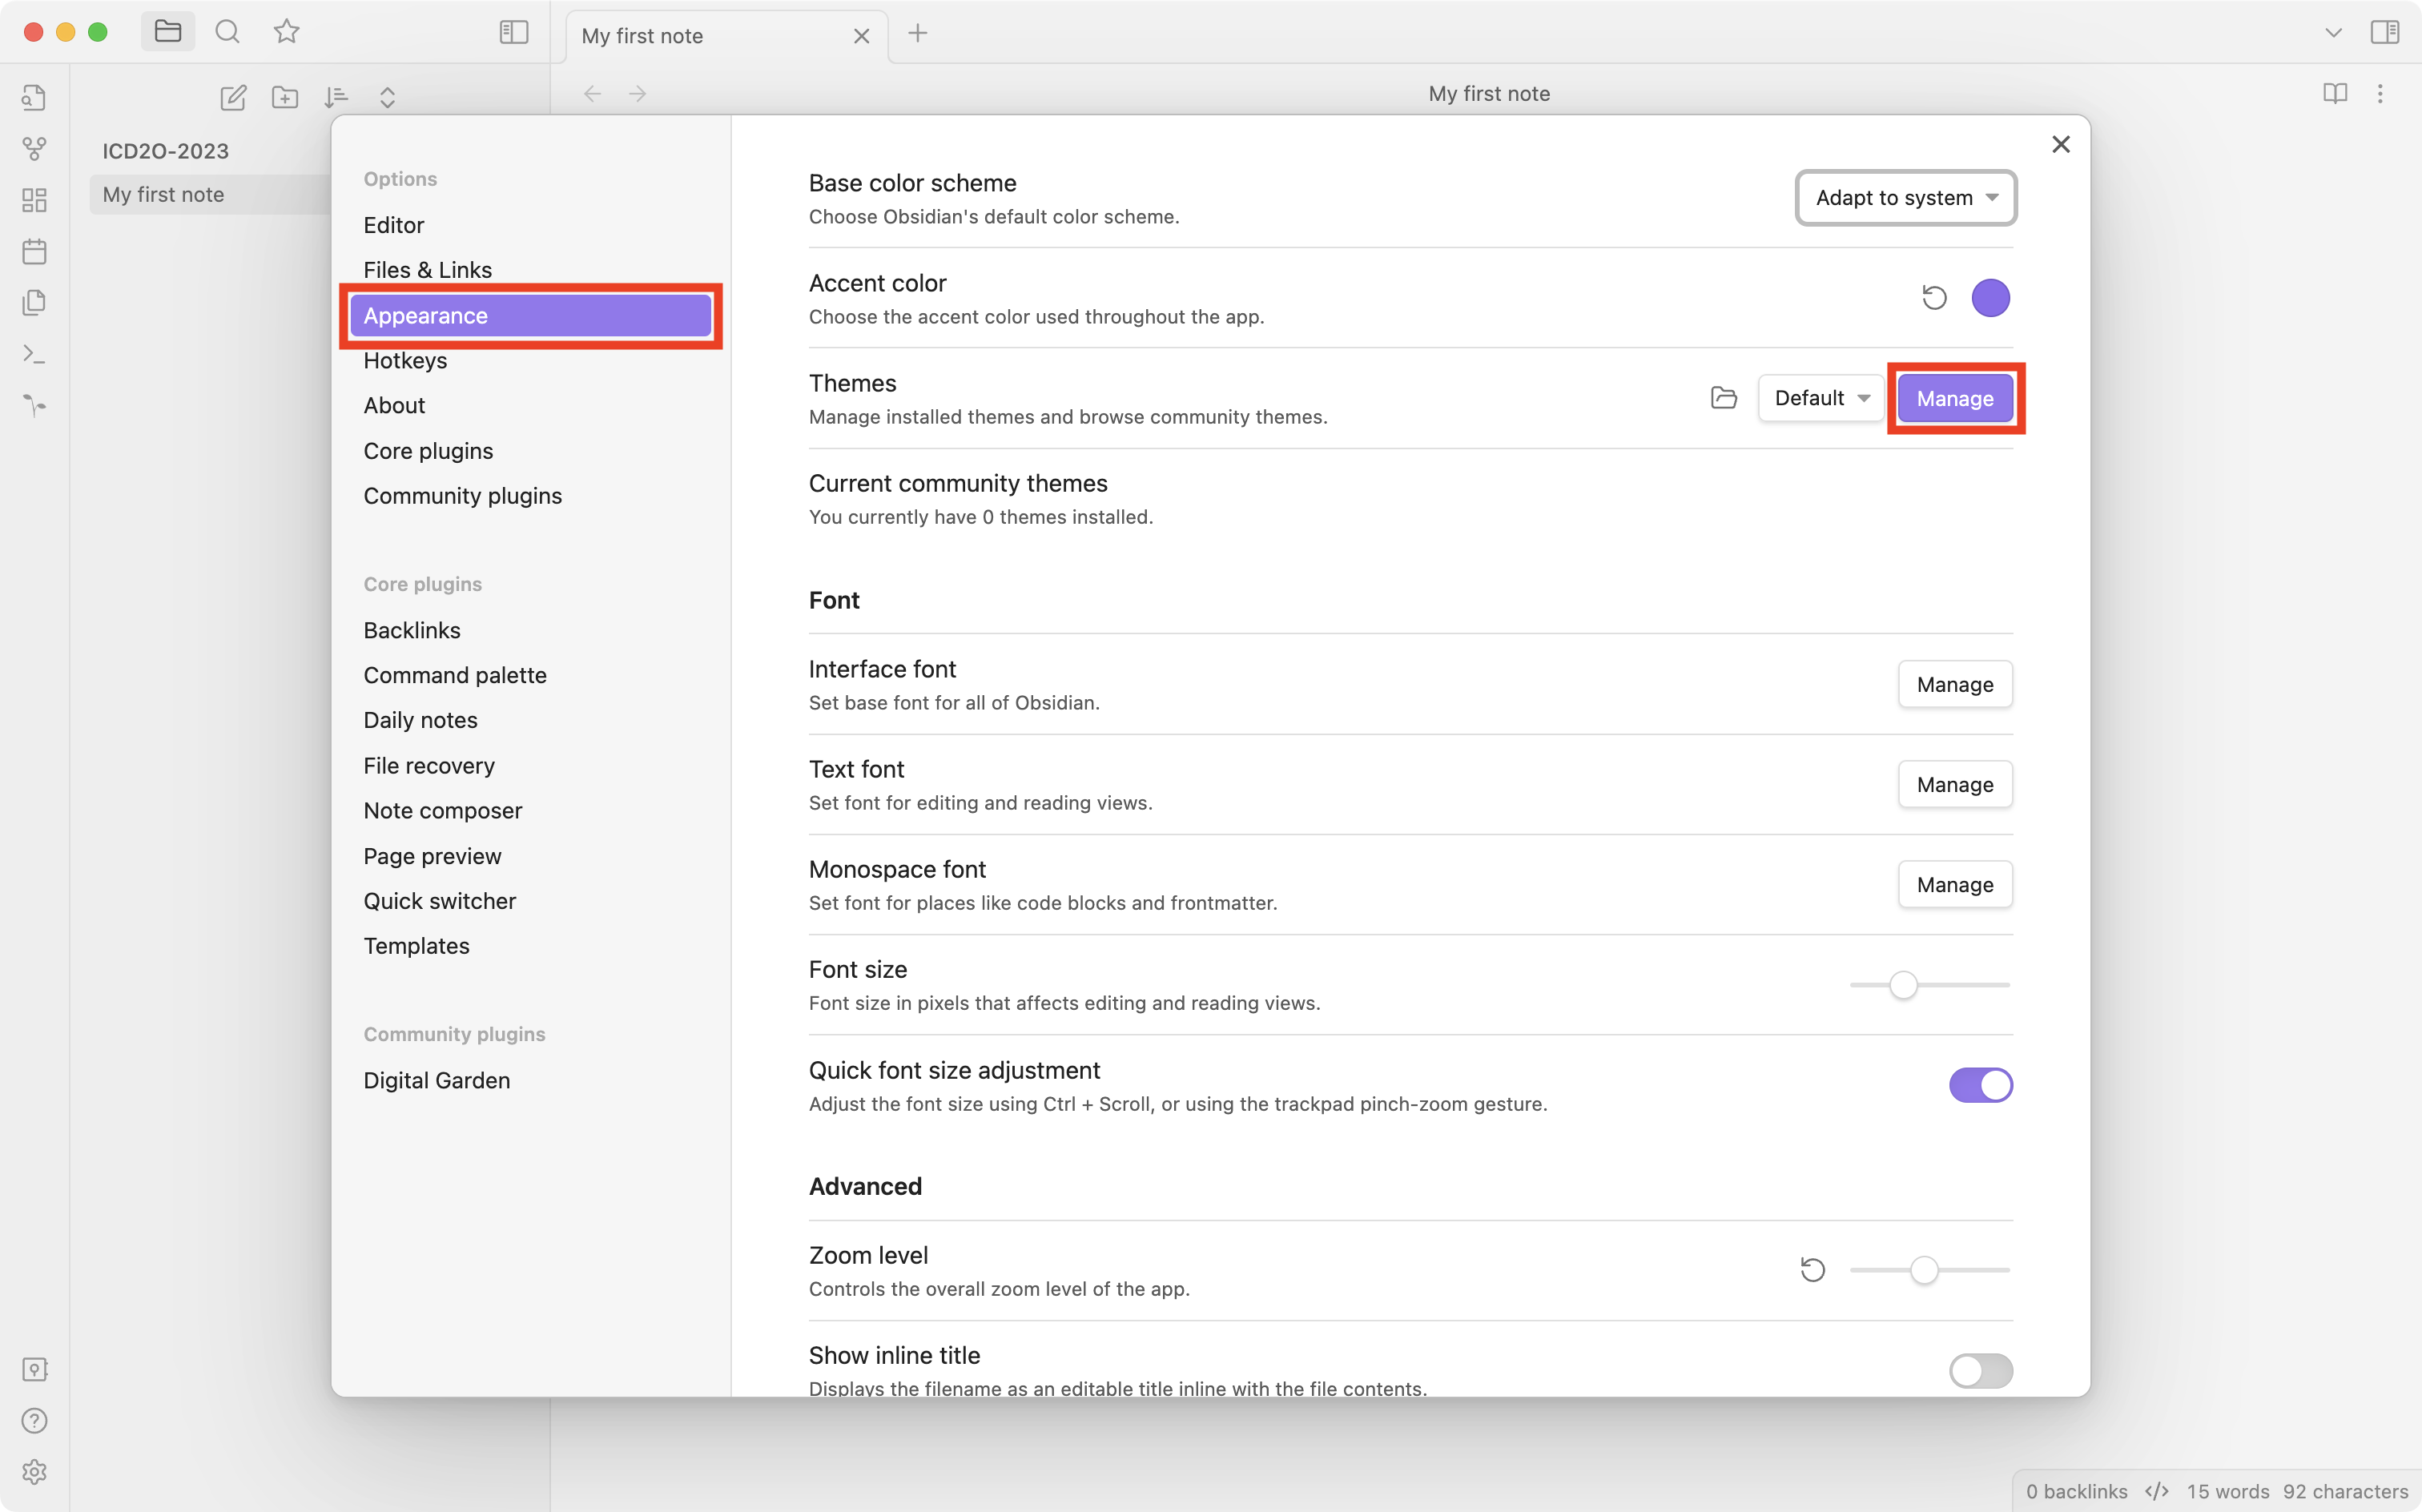
From the menu, select Obsidian > Settings....
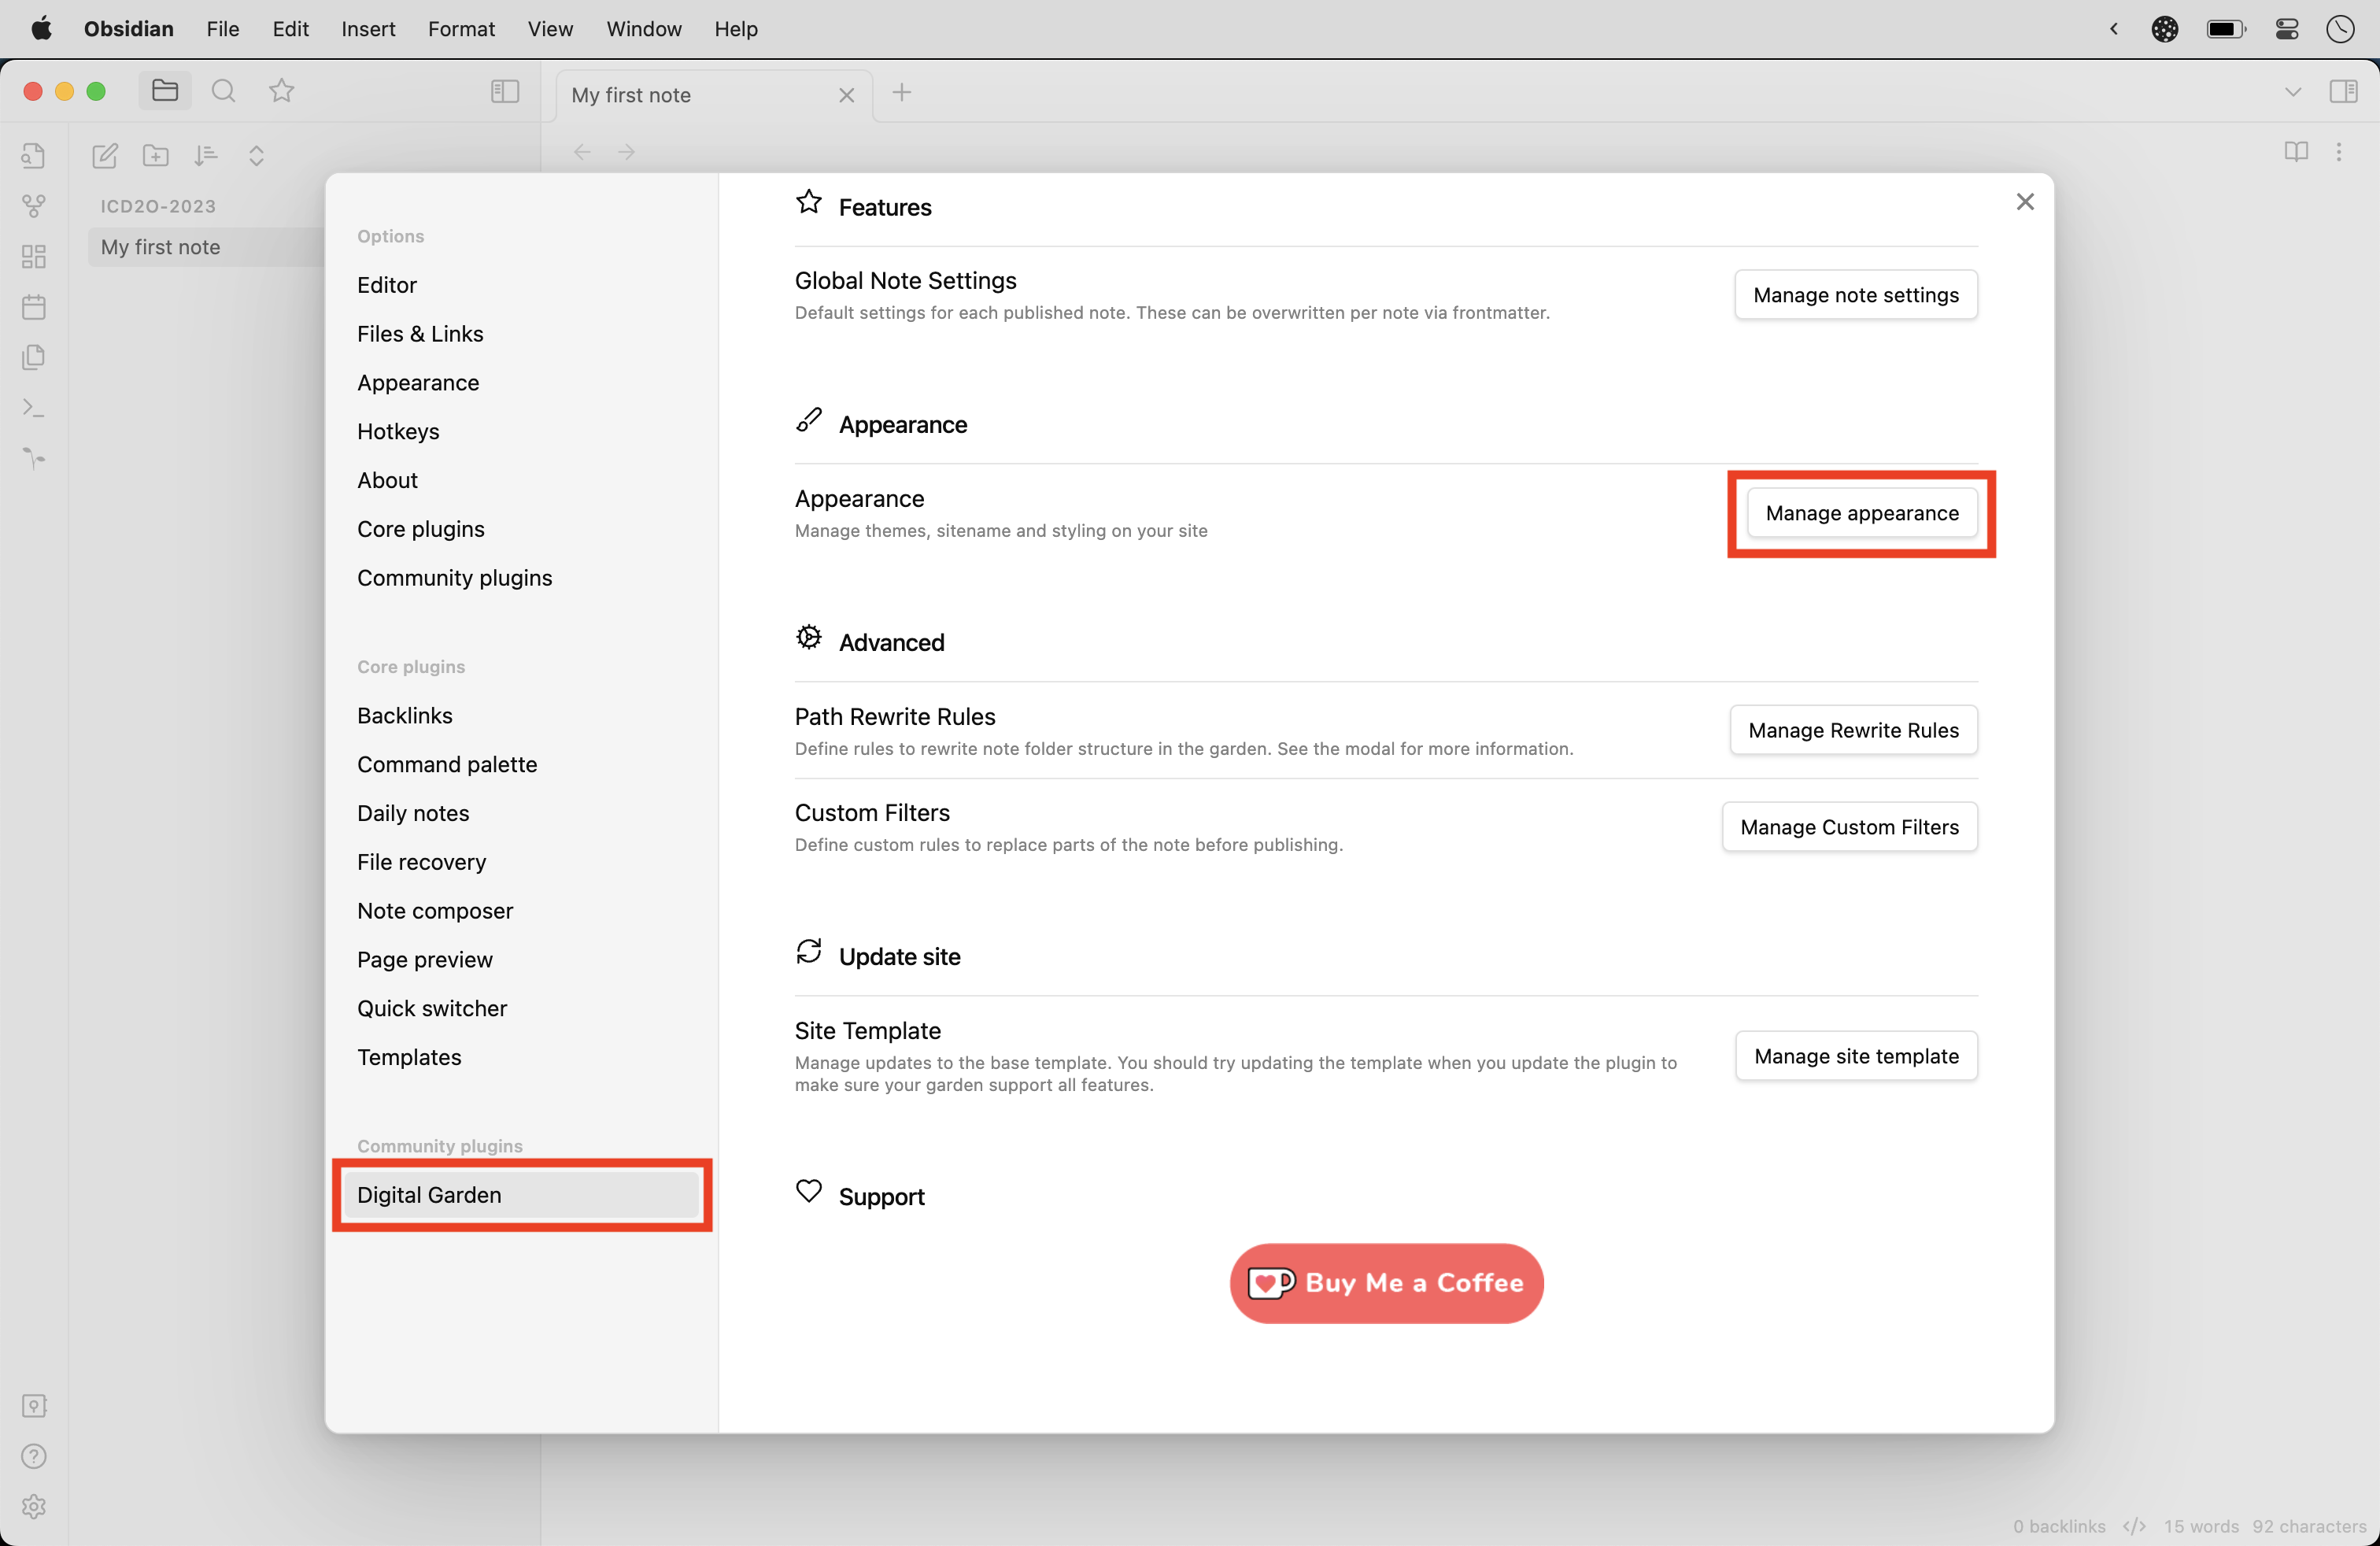
Then select Appearance and press the Manage button:
-
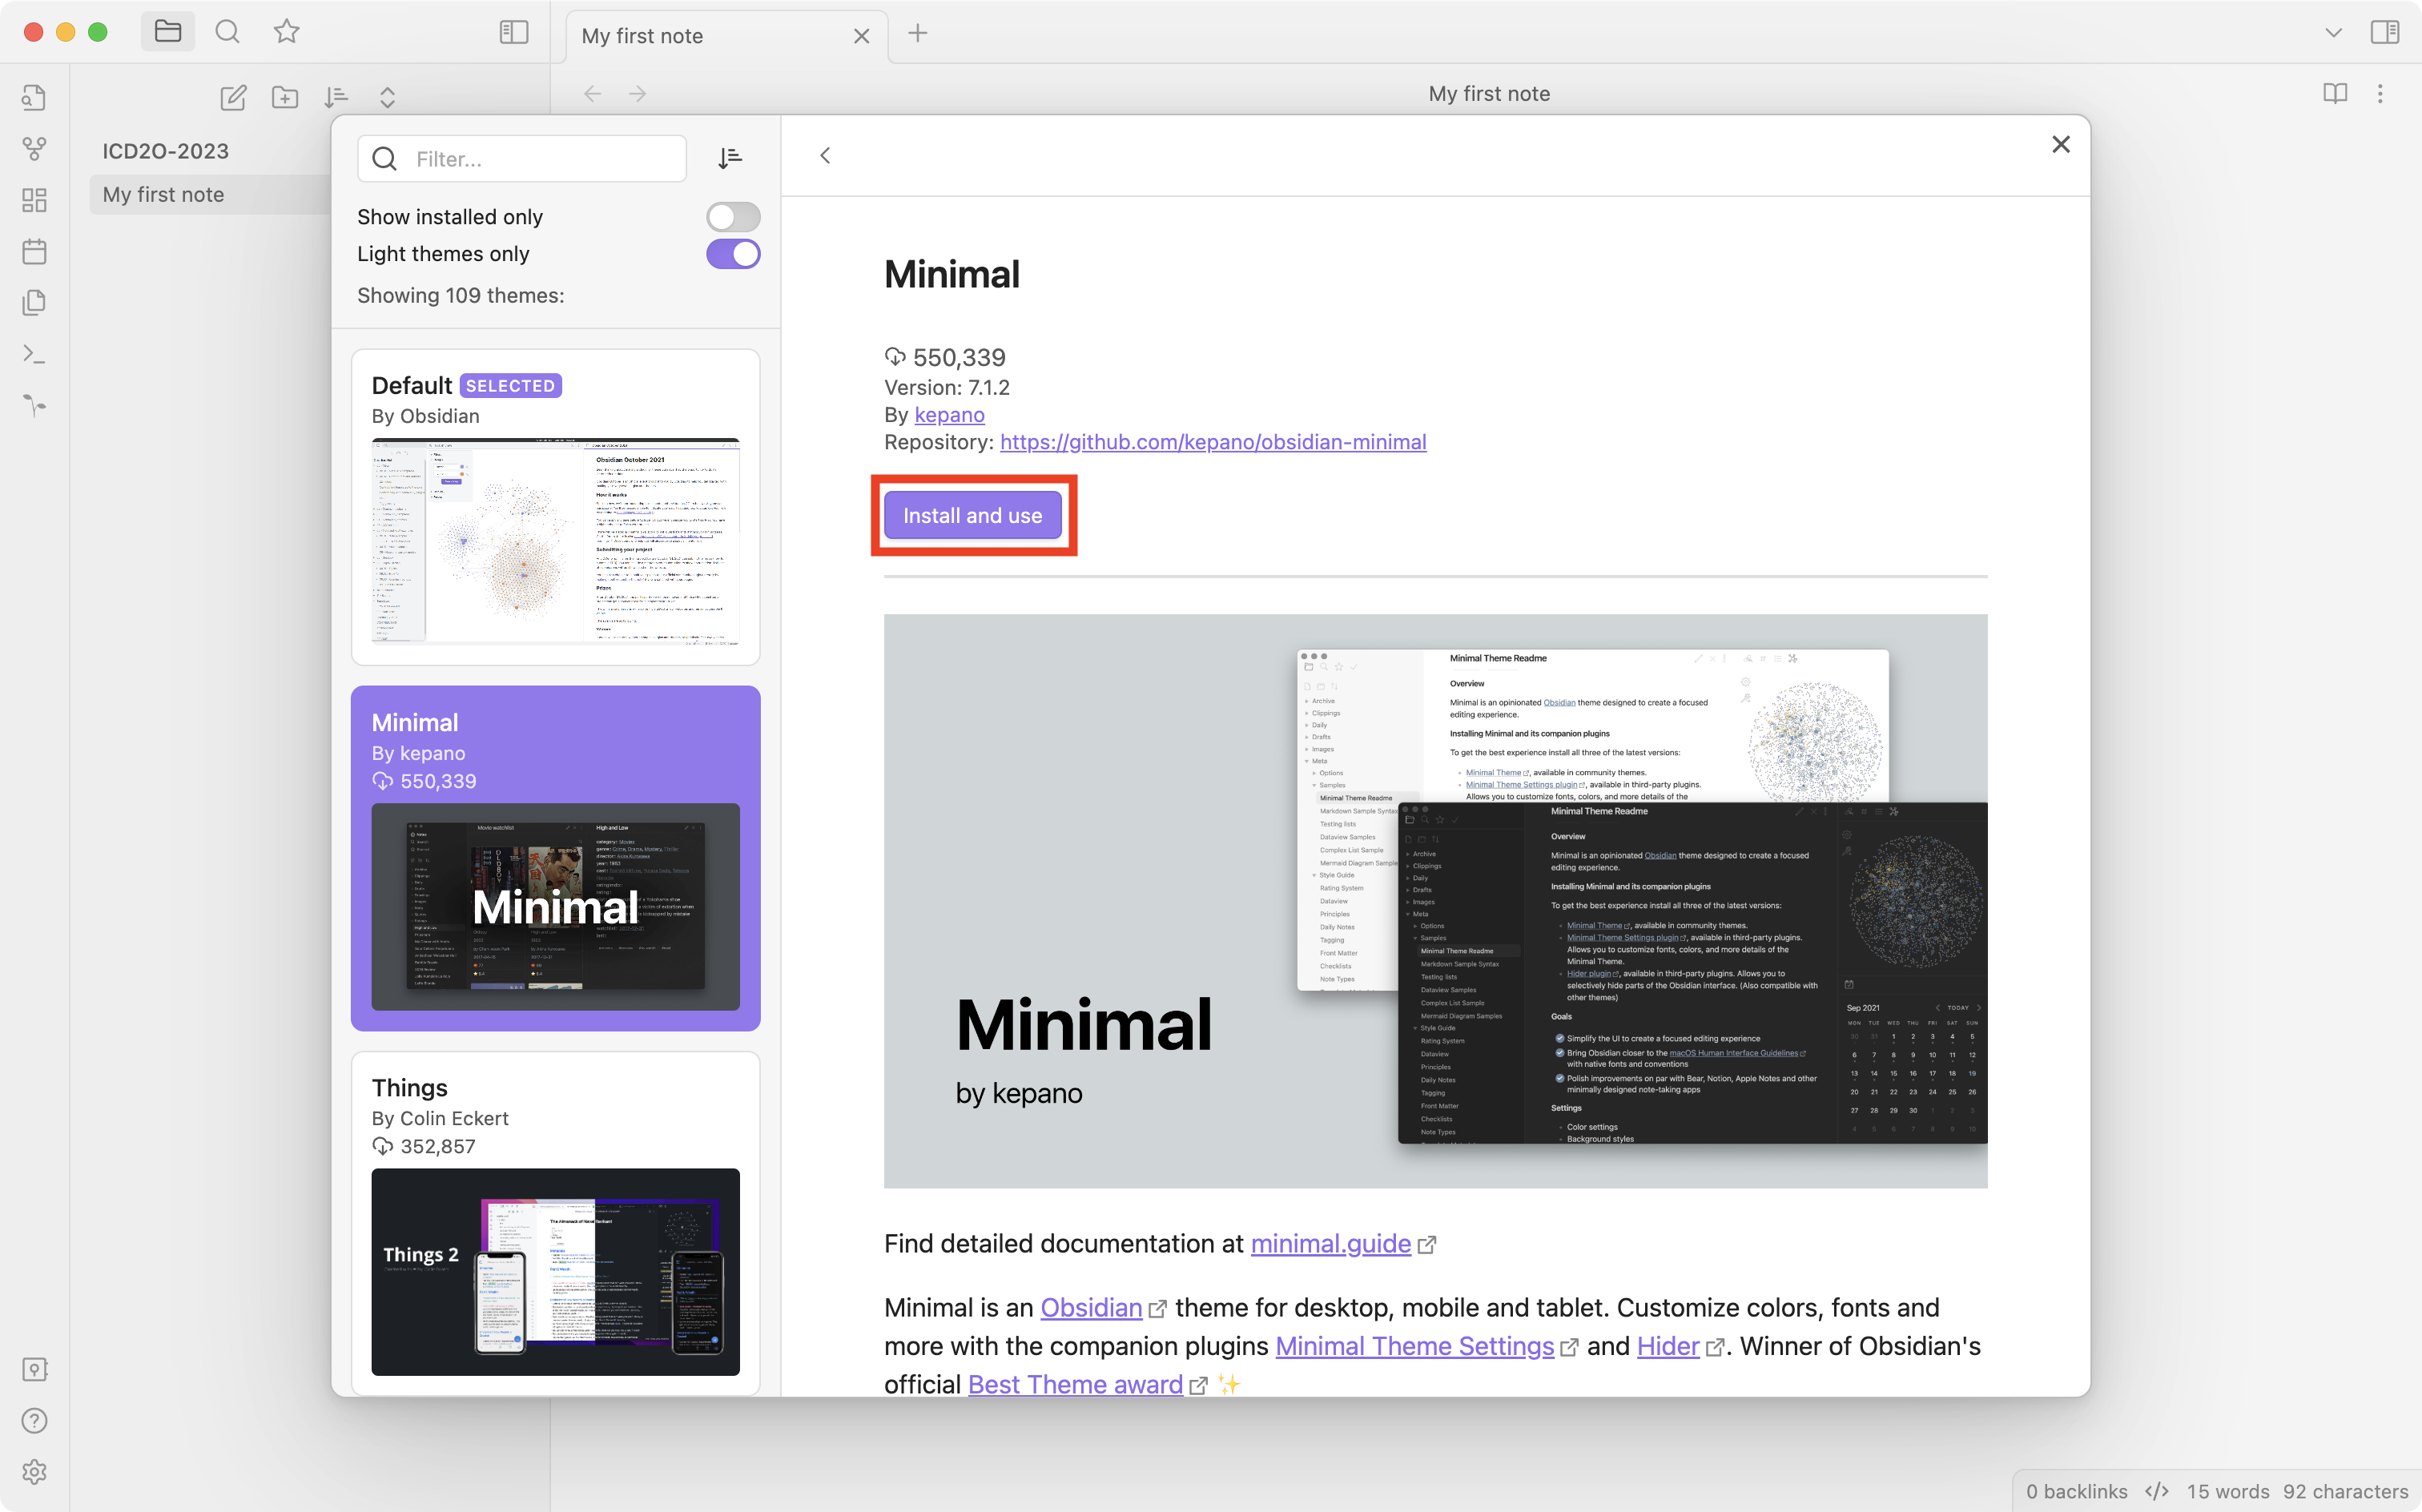
Select the Minimal theme and press the Install and use button:
You will note that the entire interface of Obsidian immediately changes to reflect the selection of the new theme:
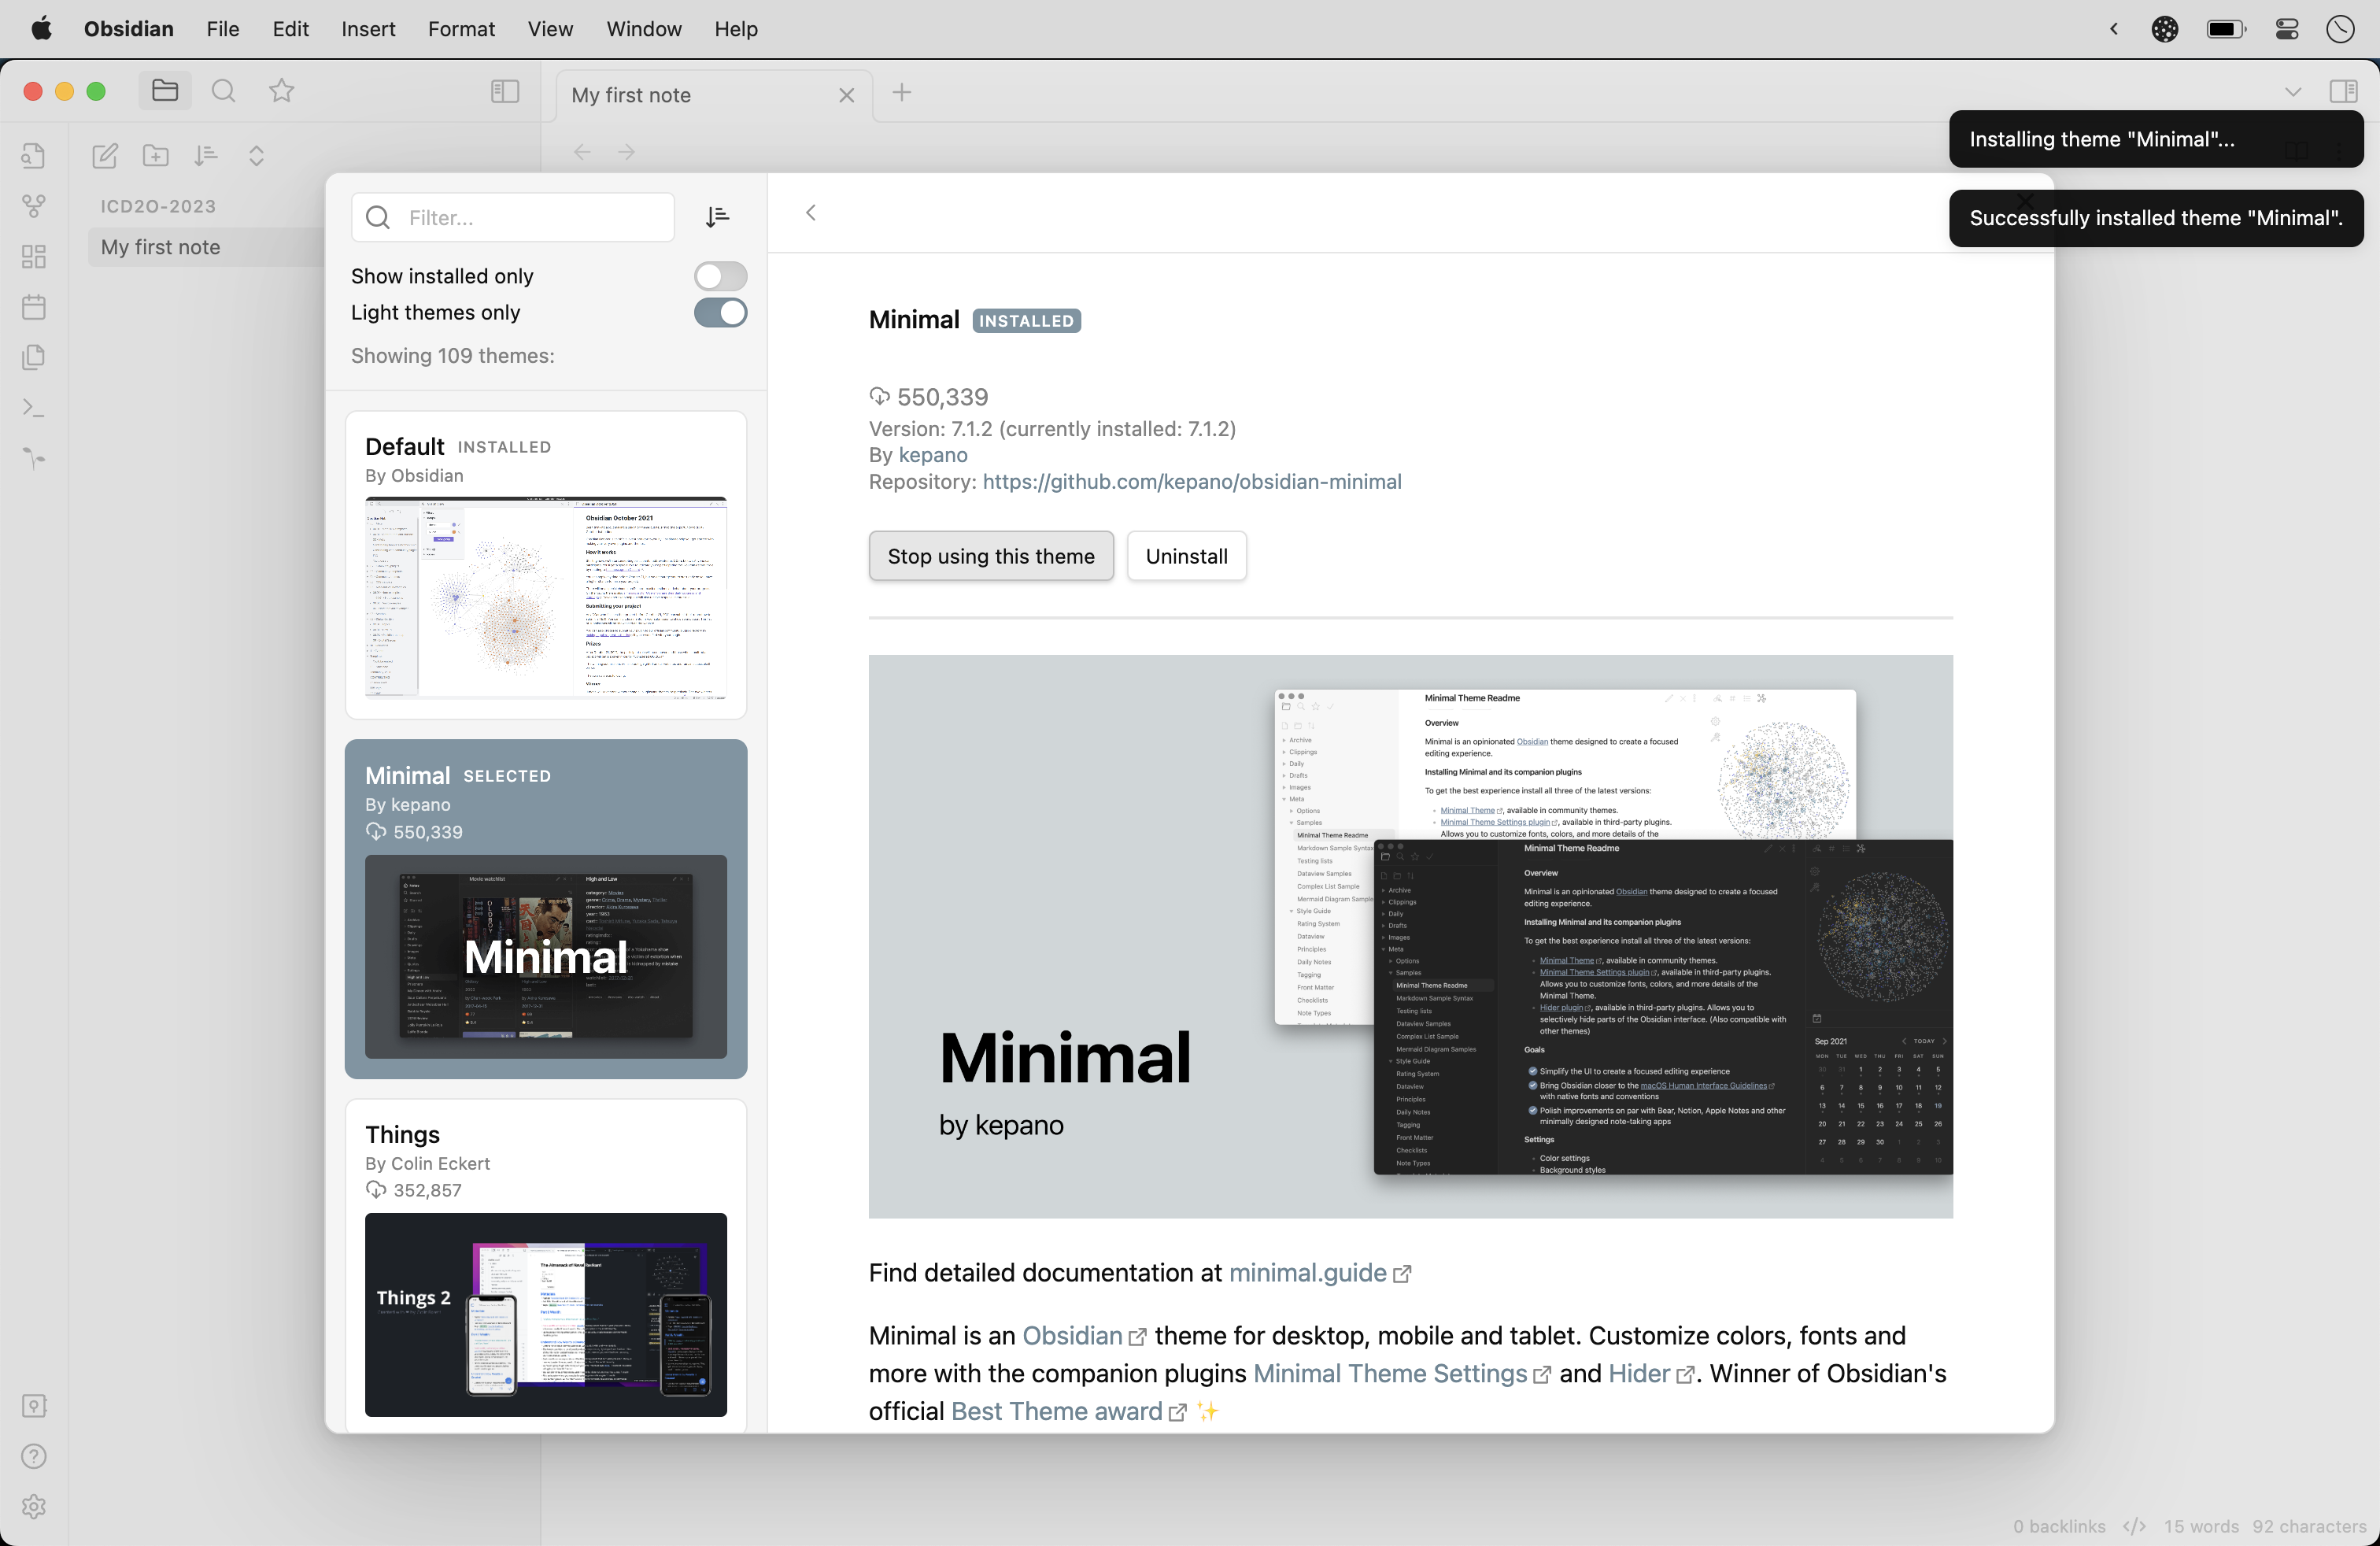
Close the Themes window.
-
Now you will set the theme that Digital Garden will use for the published website.
Back on the Settings screen, select the Digital Garden option at left, then scroll down and press the Manage appearance button at right:
For Theme, select
Minimal. For Base theme, selectLight. For Sitename, provide something meaningful for your target audience – this name can optionally appear in a navigation bar for your published website: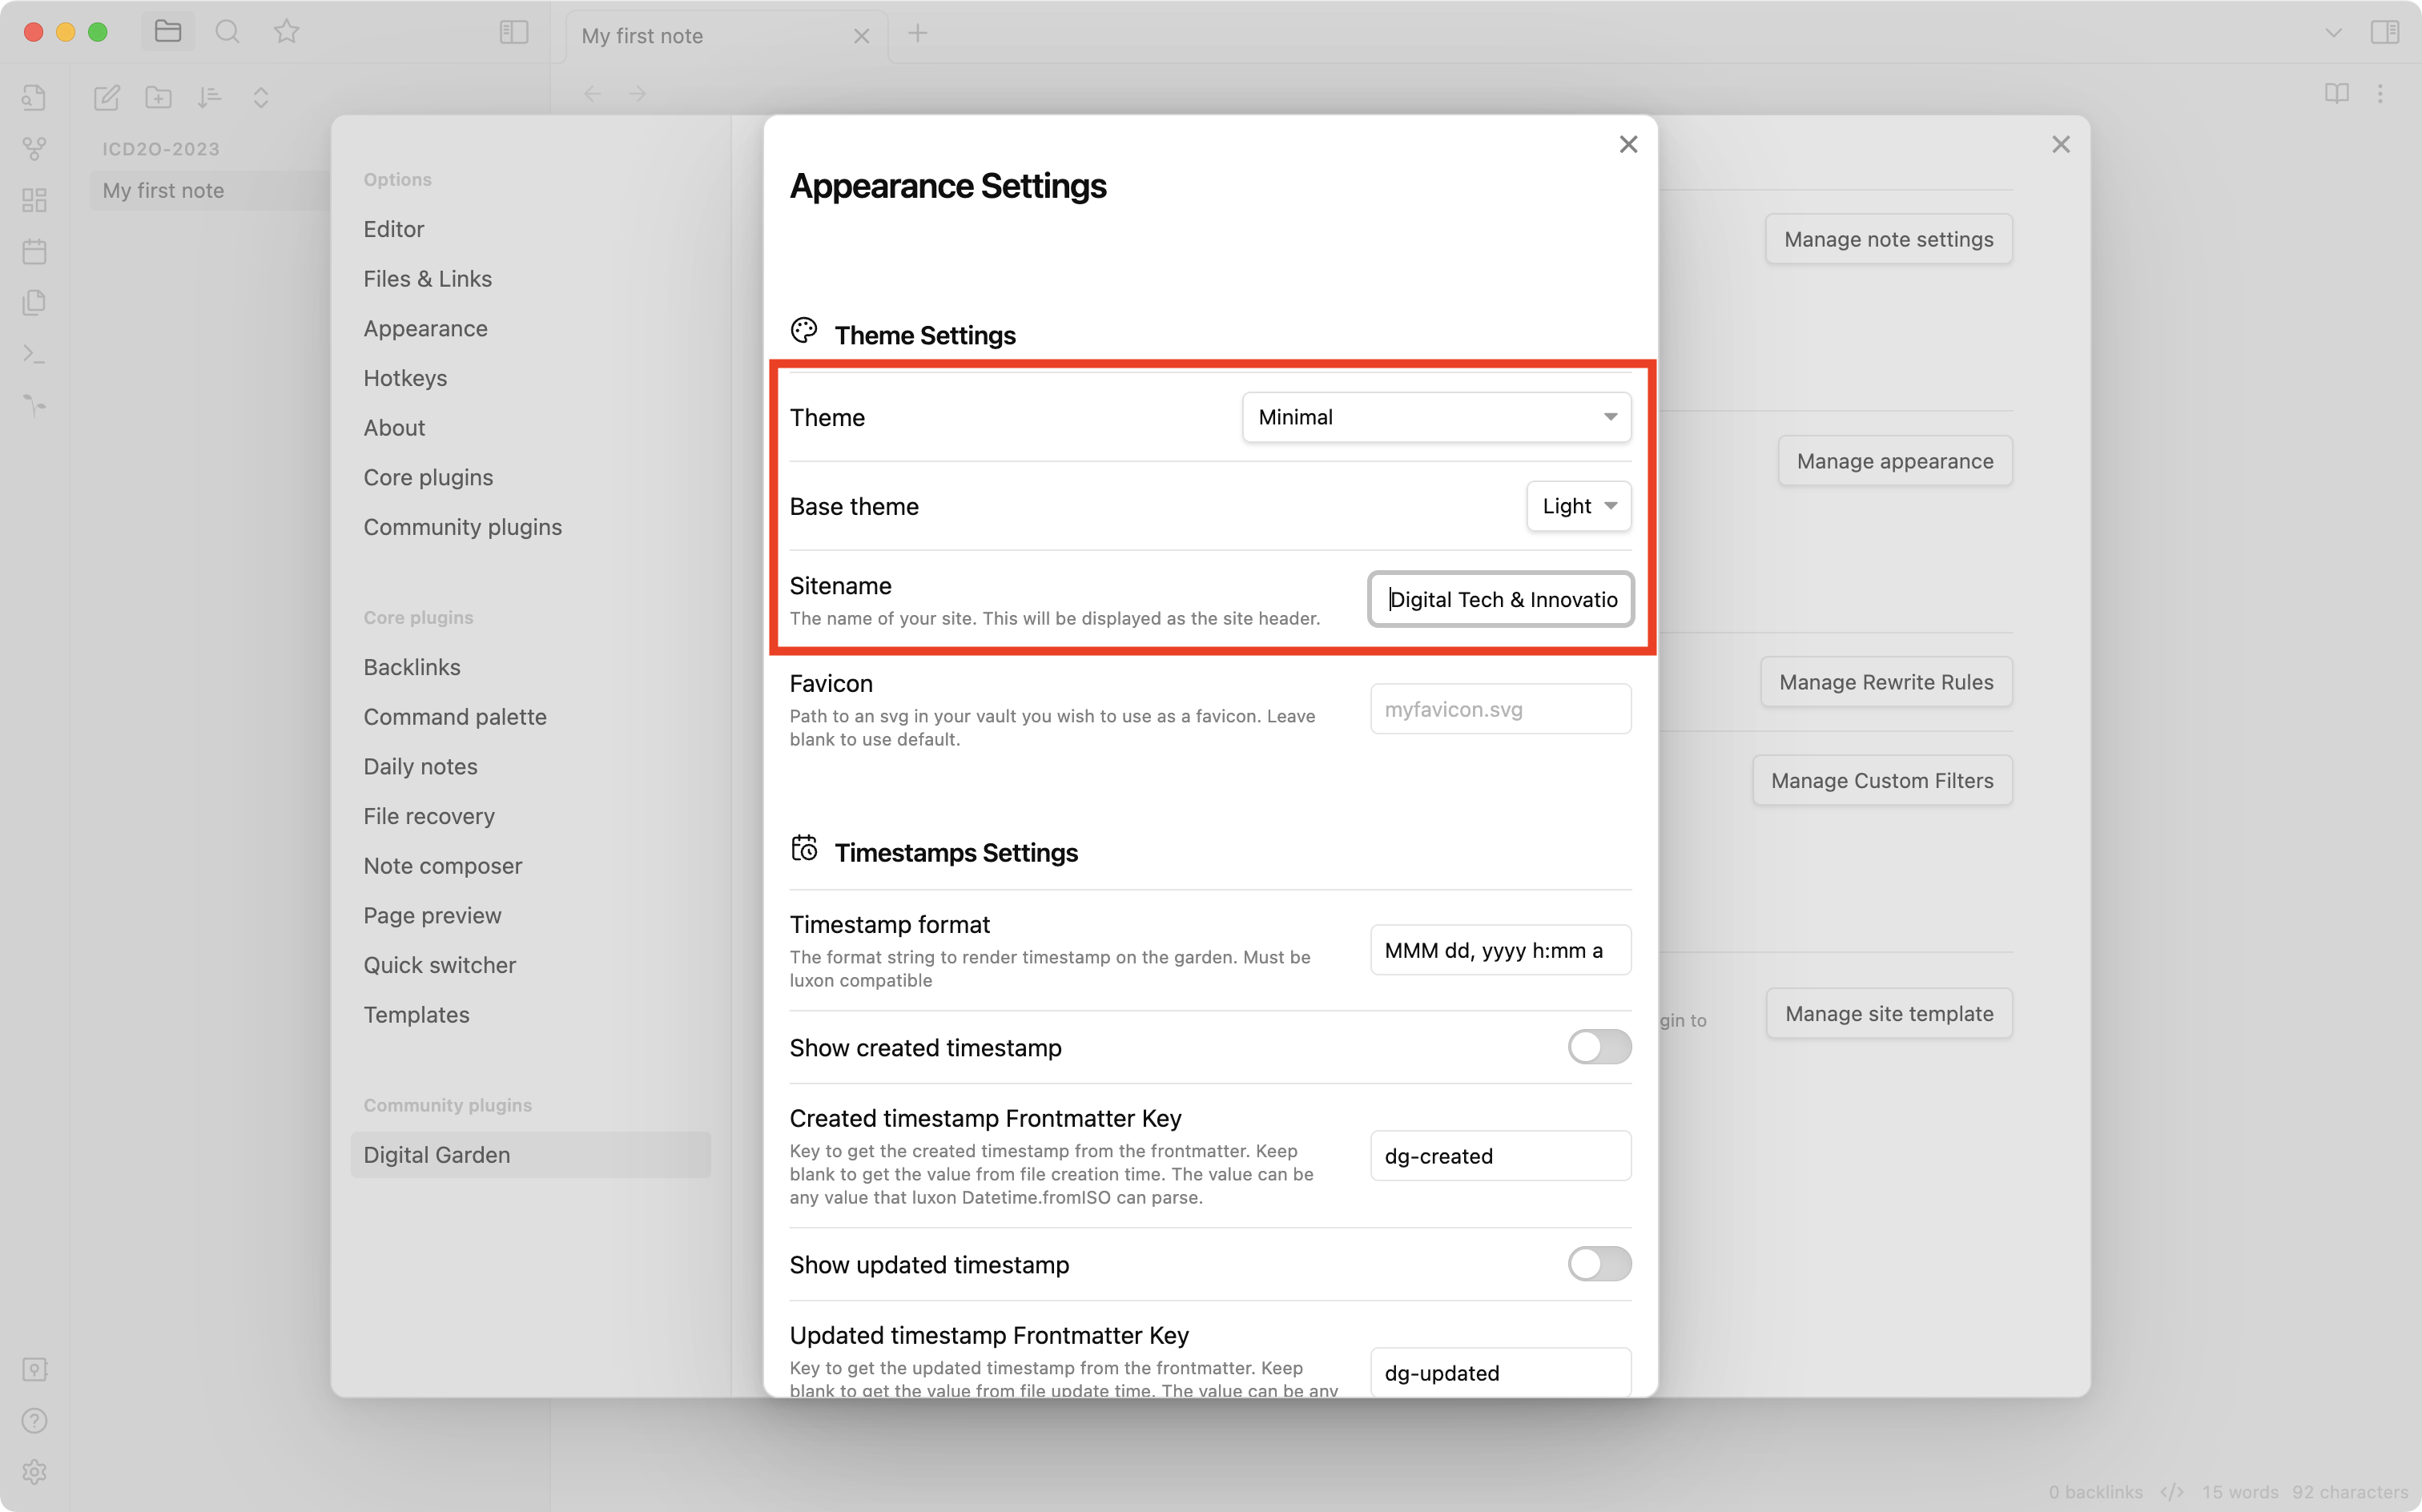
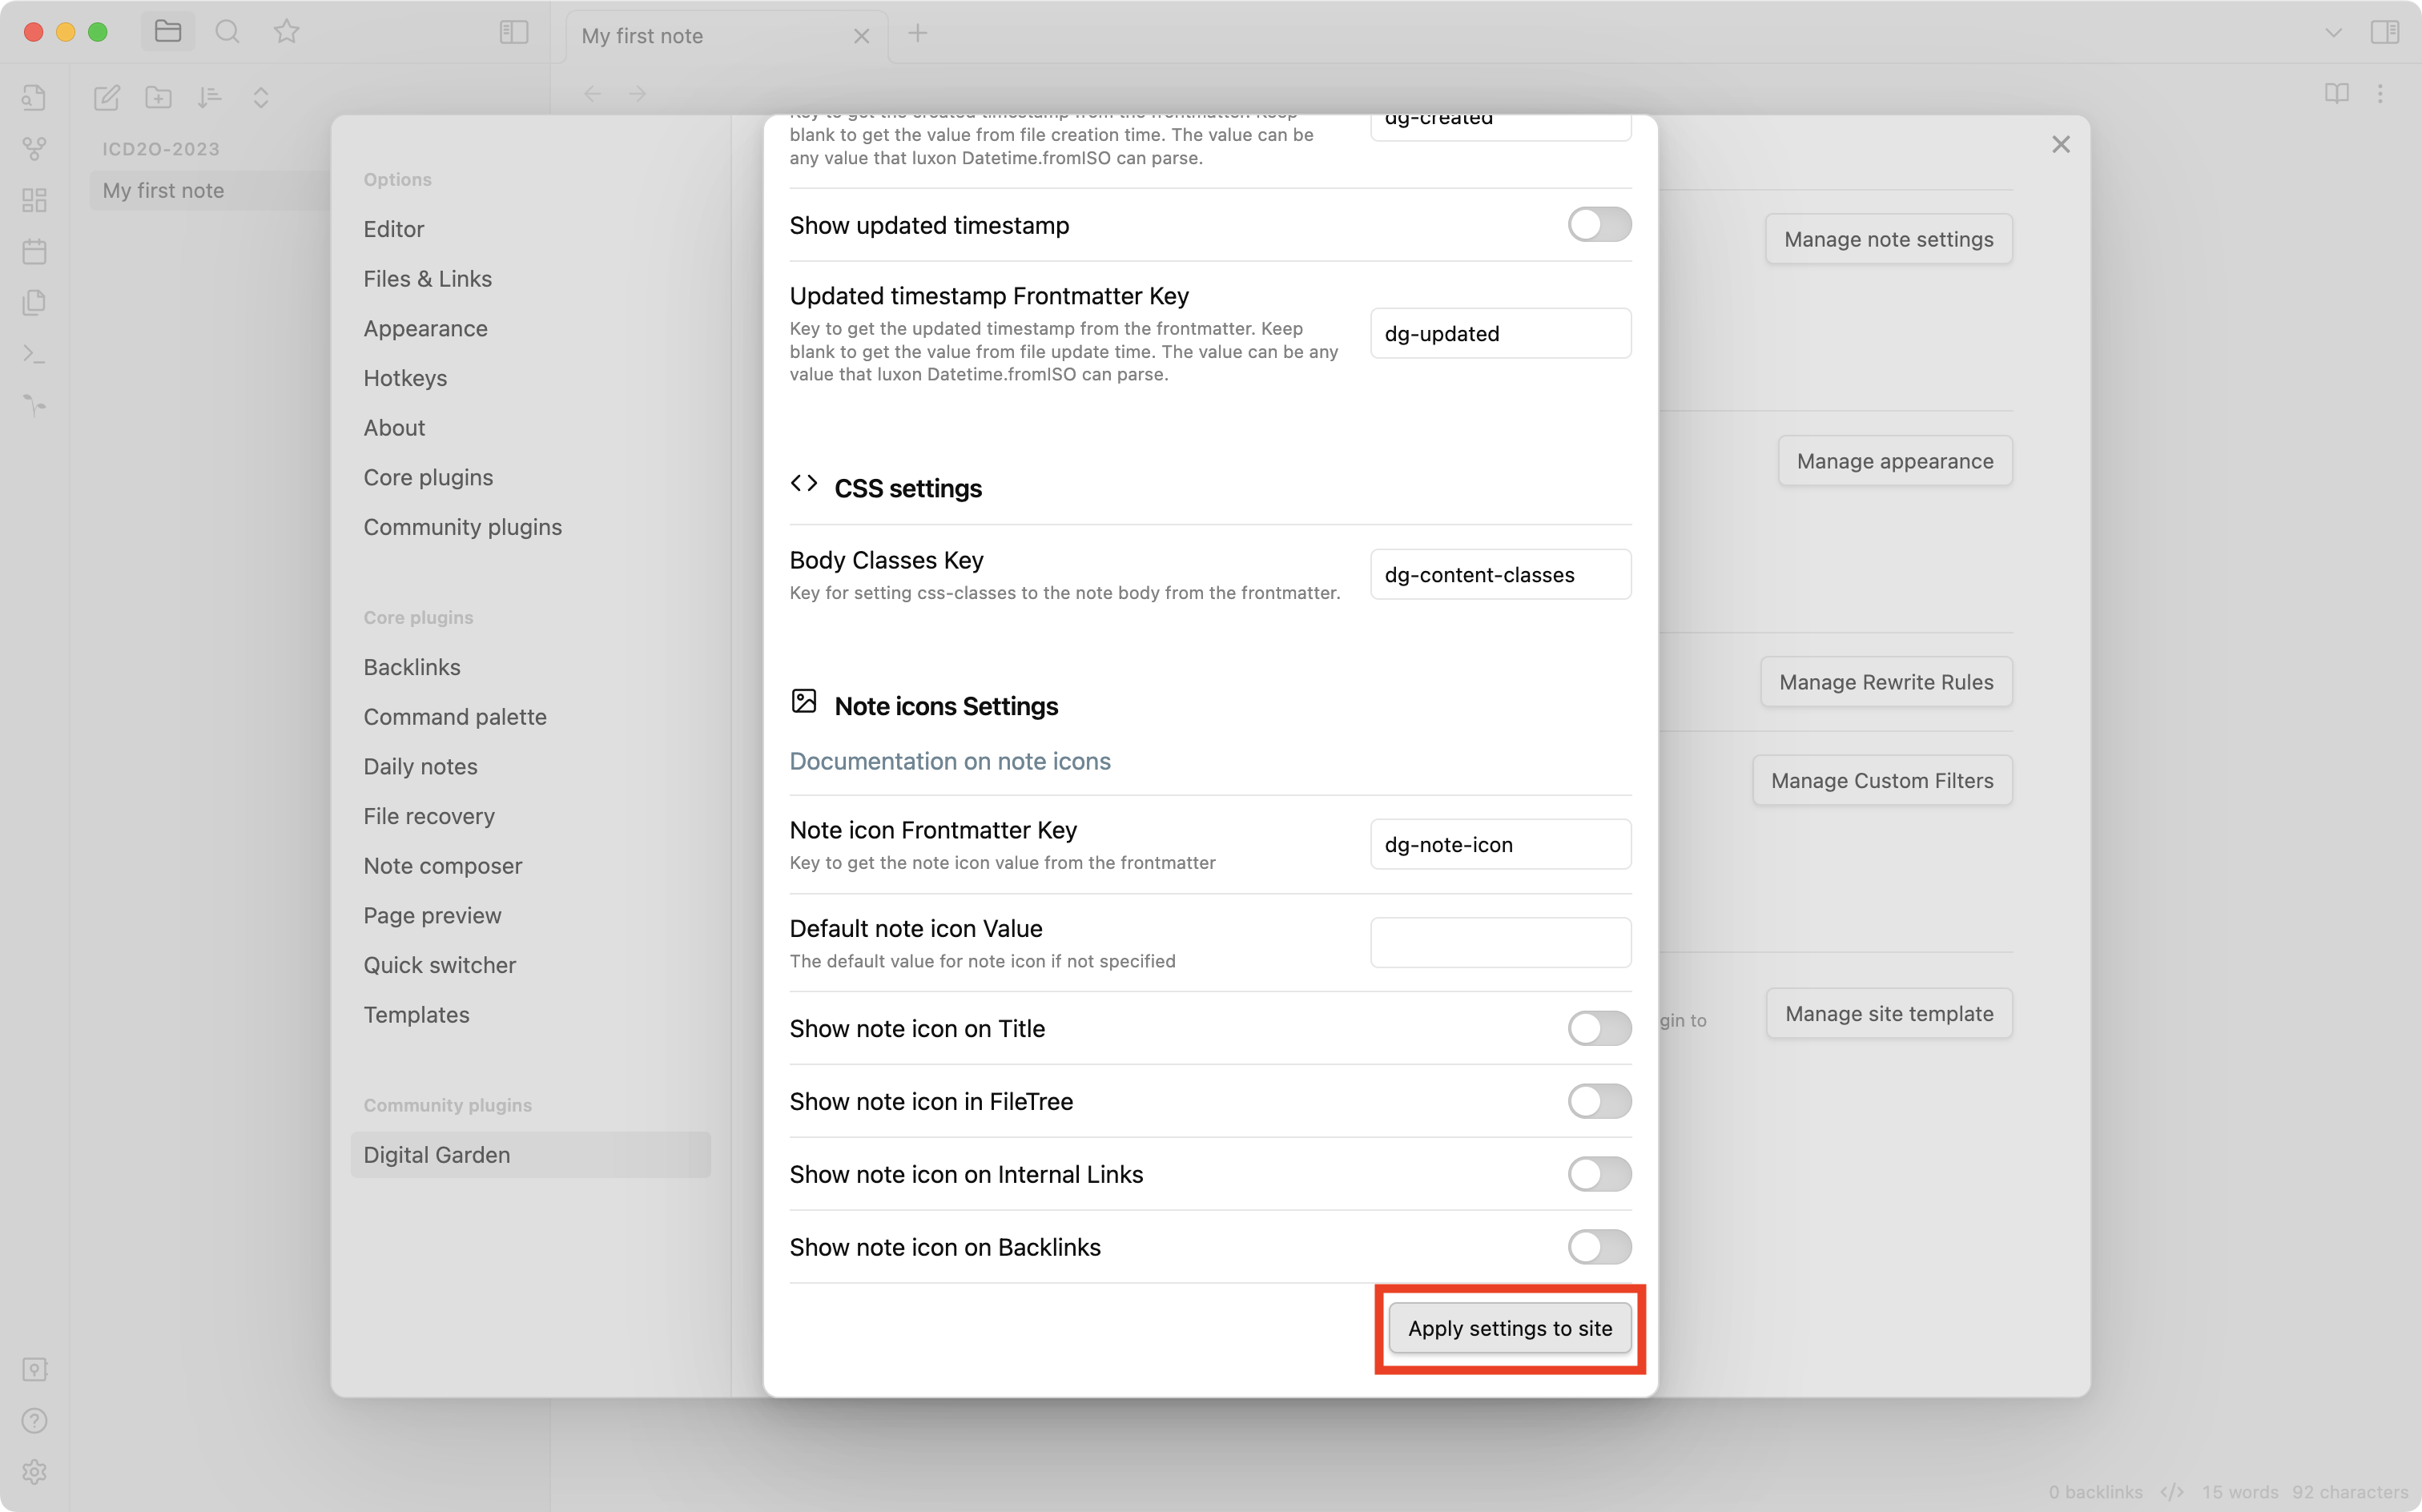
Be sure to scroll down and press the Apply settings to site button:
 Note
NoteIt's possible to use one theme for Obsidian and then select a different theme for what gets published on the website that your students will use. In practice, the author finds this to be a suboptimal workflow. When writing content for the consumption of a target audience, it is best to see a preview of that content that is as close as possible to what the audience will see.
-
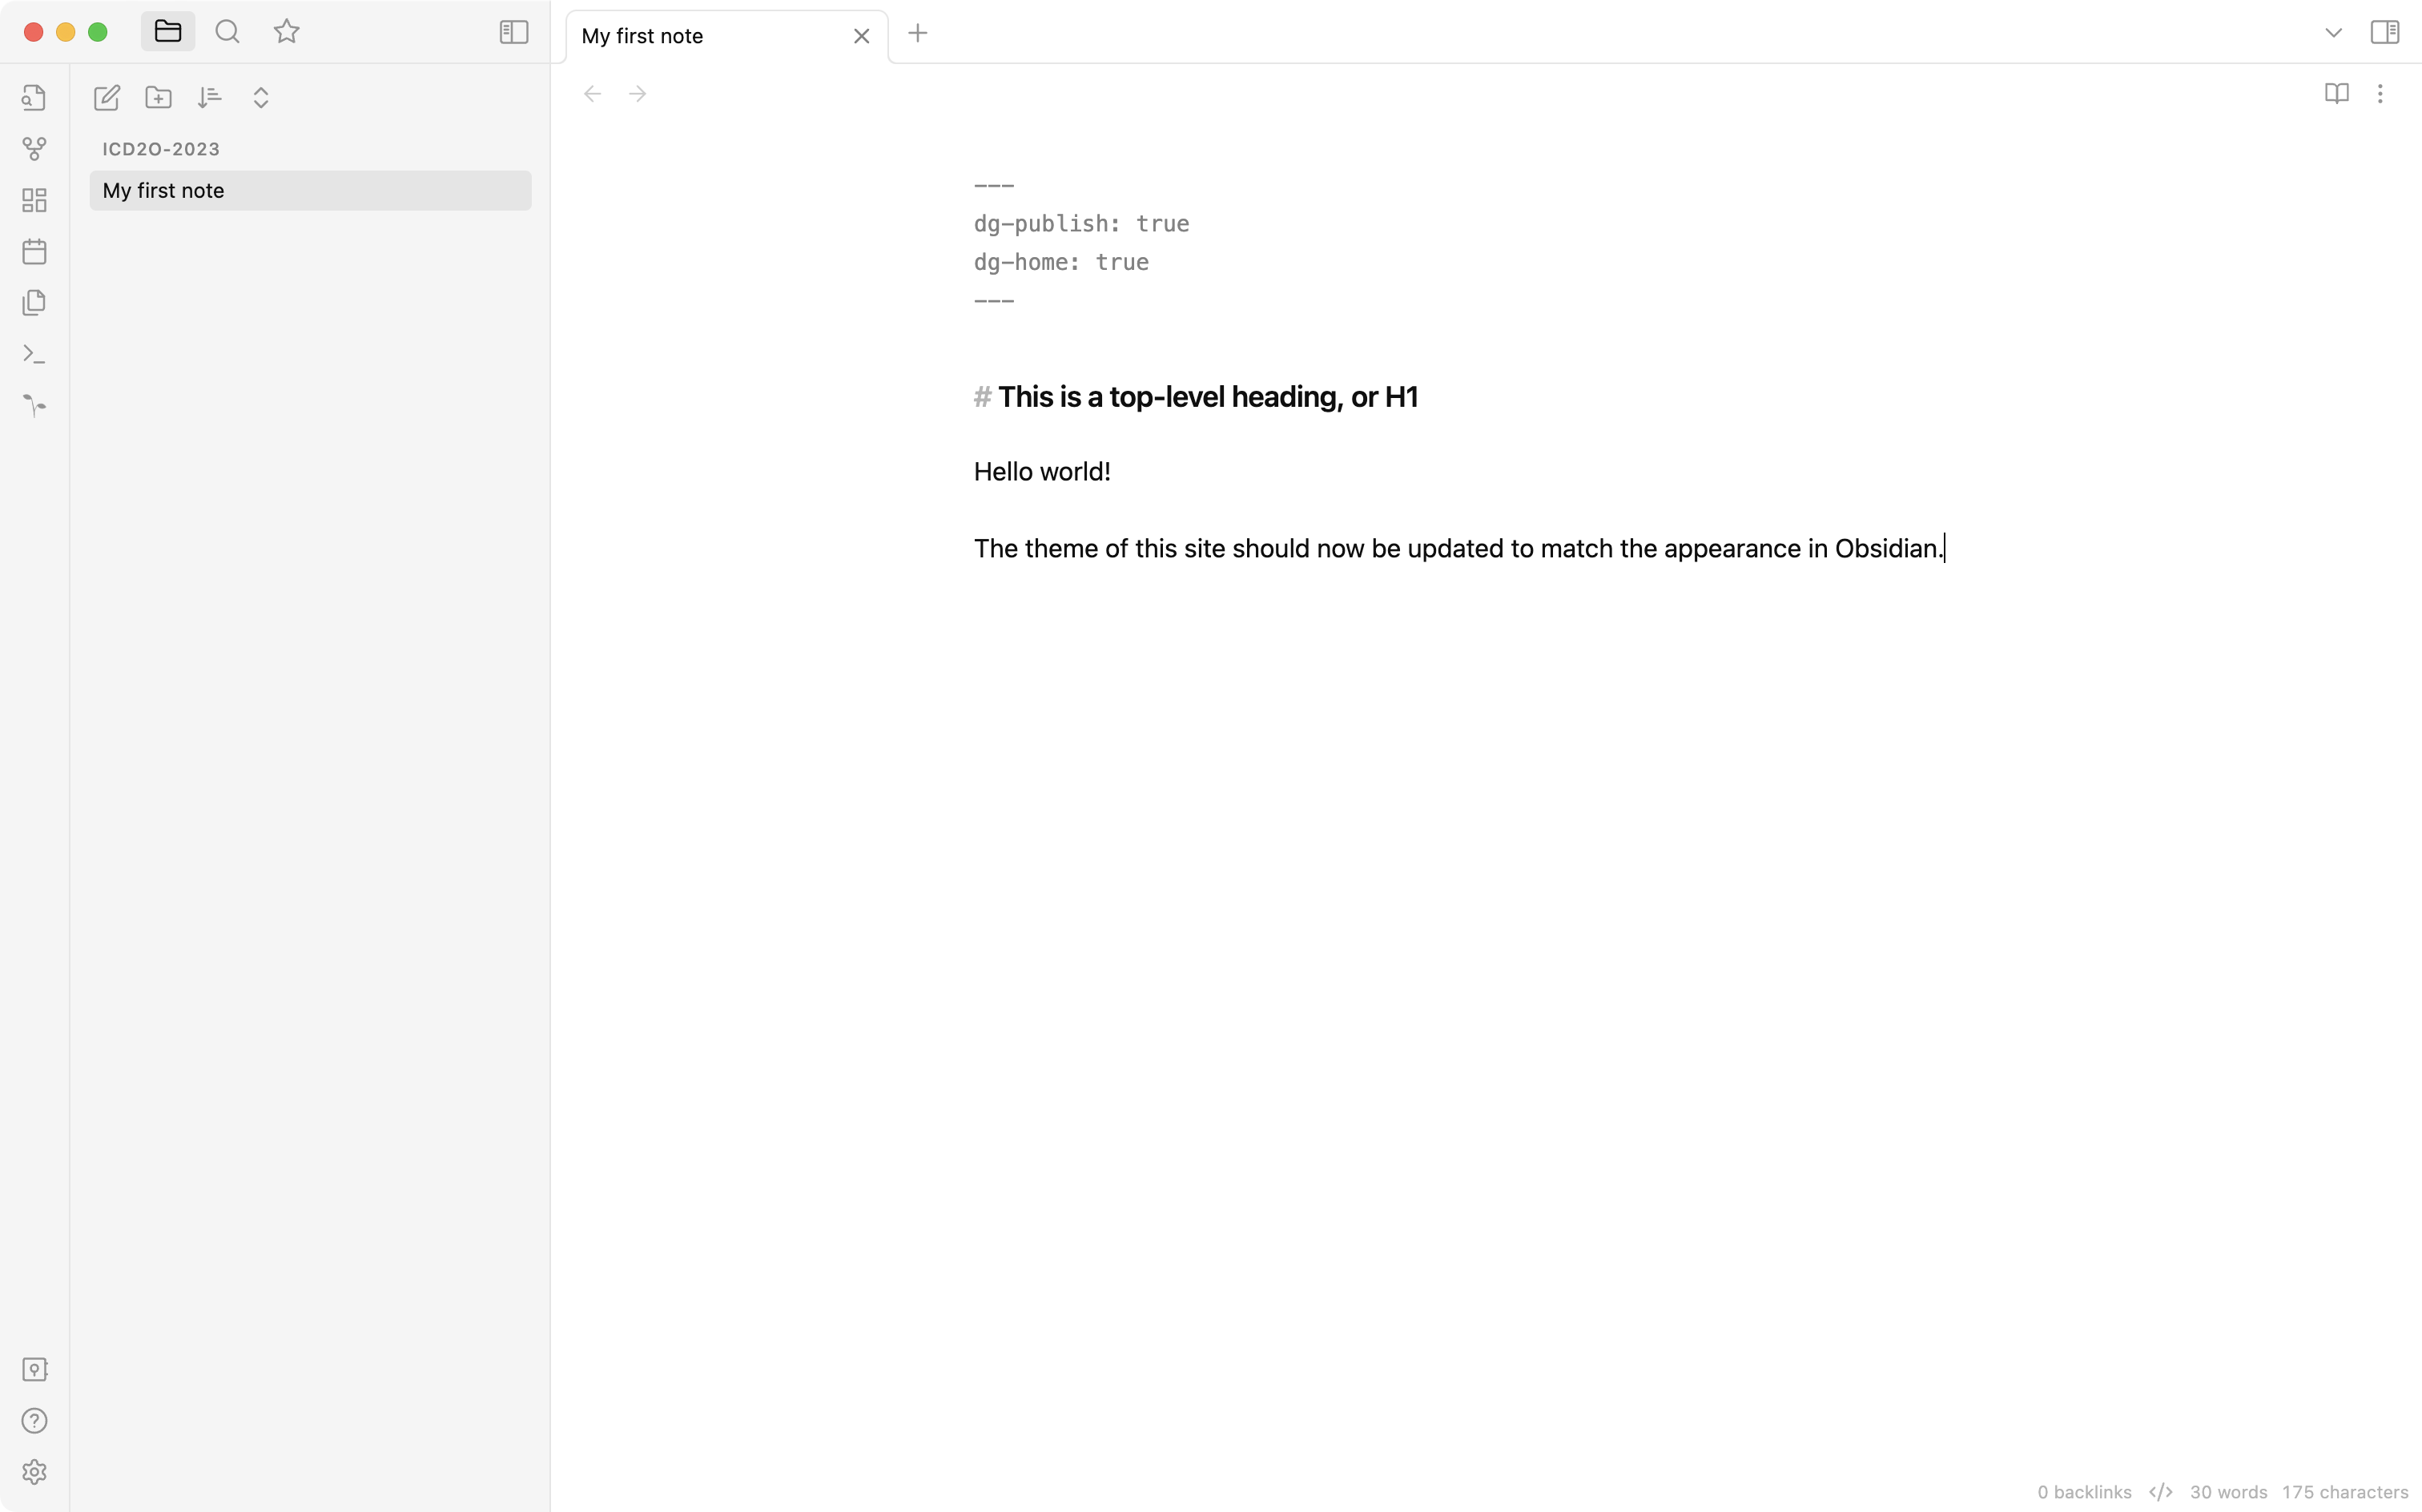
Make one small addition to the page content:
Now, press
Command-Pon a Mac orControl-Pon a Windows machine to open the command palette in Obsidian. Find the Digital Garden: Publish Multiple Notes option, then press the Enter or Return key.You should see a status message indicating that a note has been published to your garden. If you visit your Netlify dashboard, you can track deployment progress – which should only take a matter of seconds.
Now open the command palette again and find the Digital Garden: Copy Garden URL command, then press Enter or Return.
Paste this address into your web browser. You should see the published note, and it should reflect the changes you made to the theme:

-
This step can be considered optional, but it is recommended.
In short, there are some behaviours and appearances in the Minimal theme that are sub-optimal when published to a website through the Digital Garden plugin.
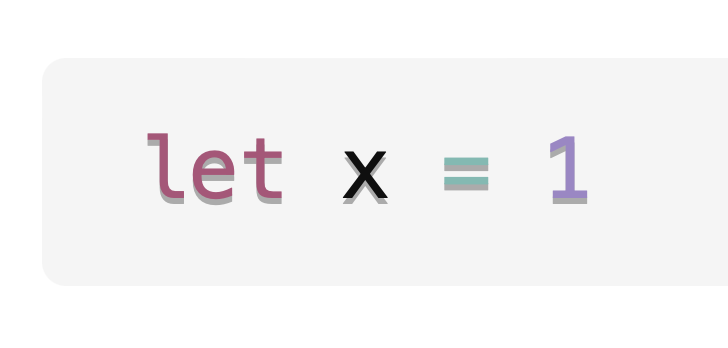
For example, you can include code blocks in a page – and within Obsidian, the appearance is reasonable:
let x = 1However, when published via the Digital Garden plugin, for some reason a shadow is applied to the code:
Over the course of the past school year, I have found several rough edges like the one described above.
Fortunately, you can tweak the appearance of the published site using custom CSS code. This custom CSS just needs to be applied within the correct file within your GitHub repository.
If you wish to adopt the tweaks that I use, you can access the CSS code here.
Then, navigate to GitHub, and into the repository holding your course website:
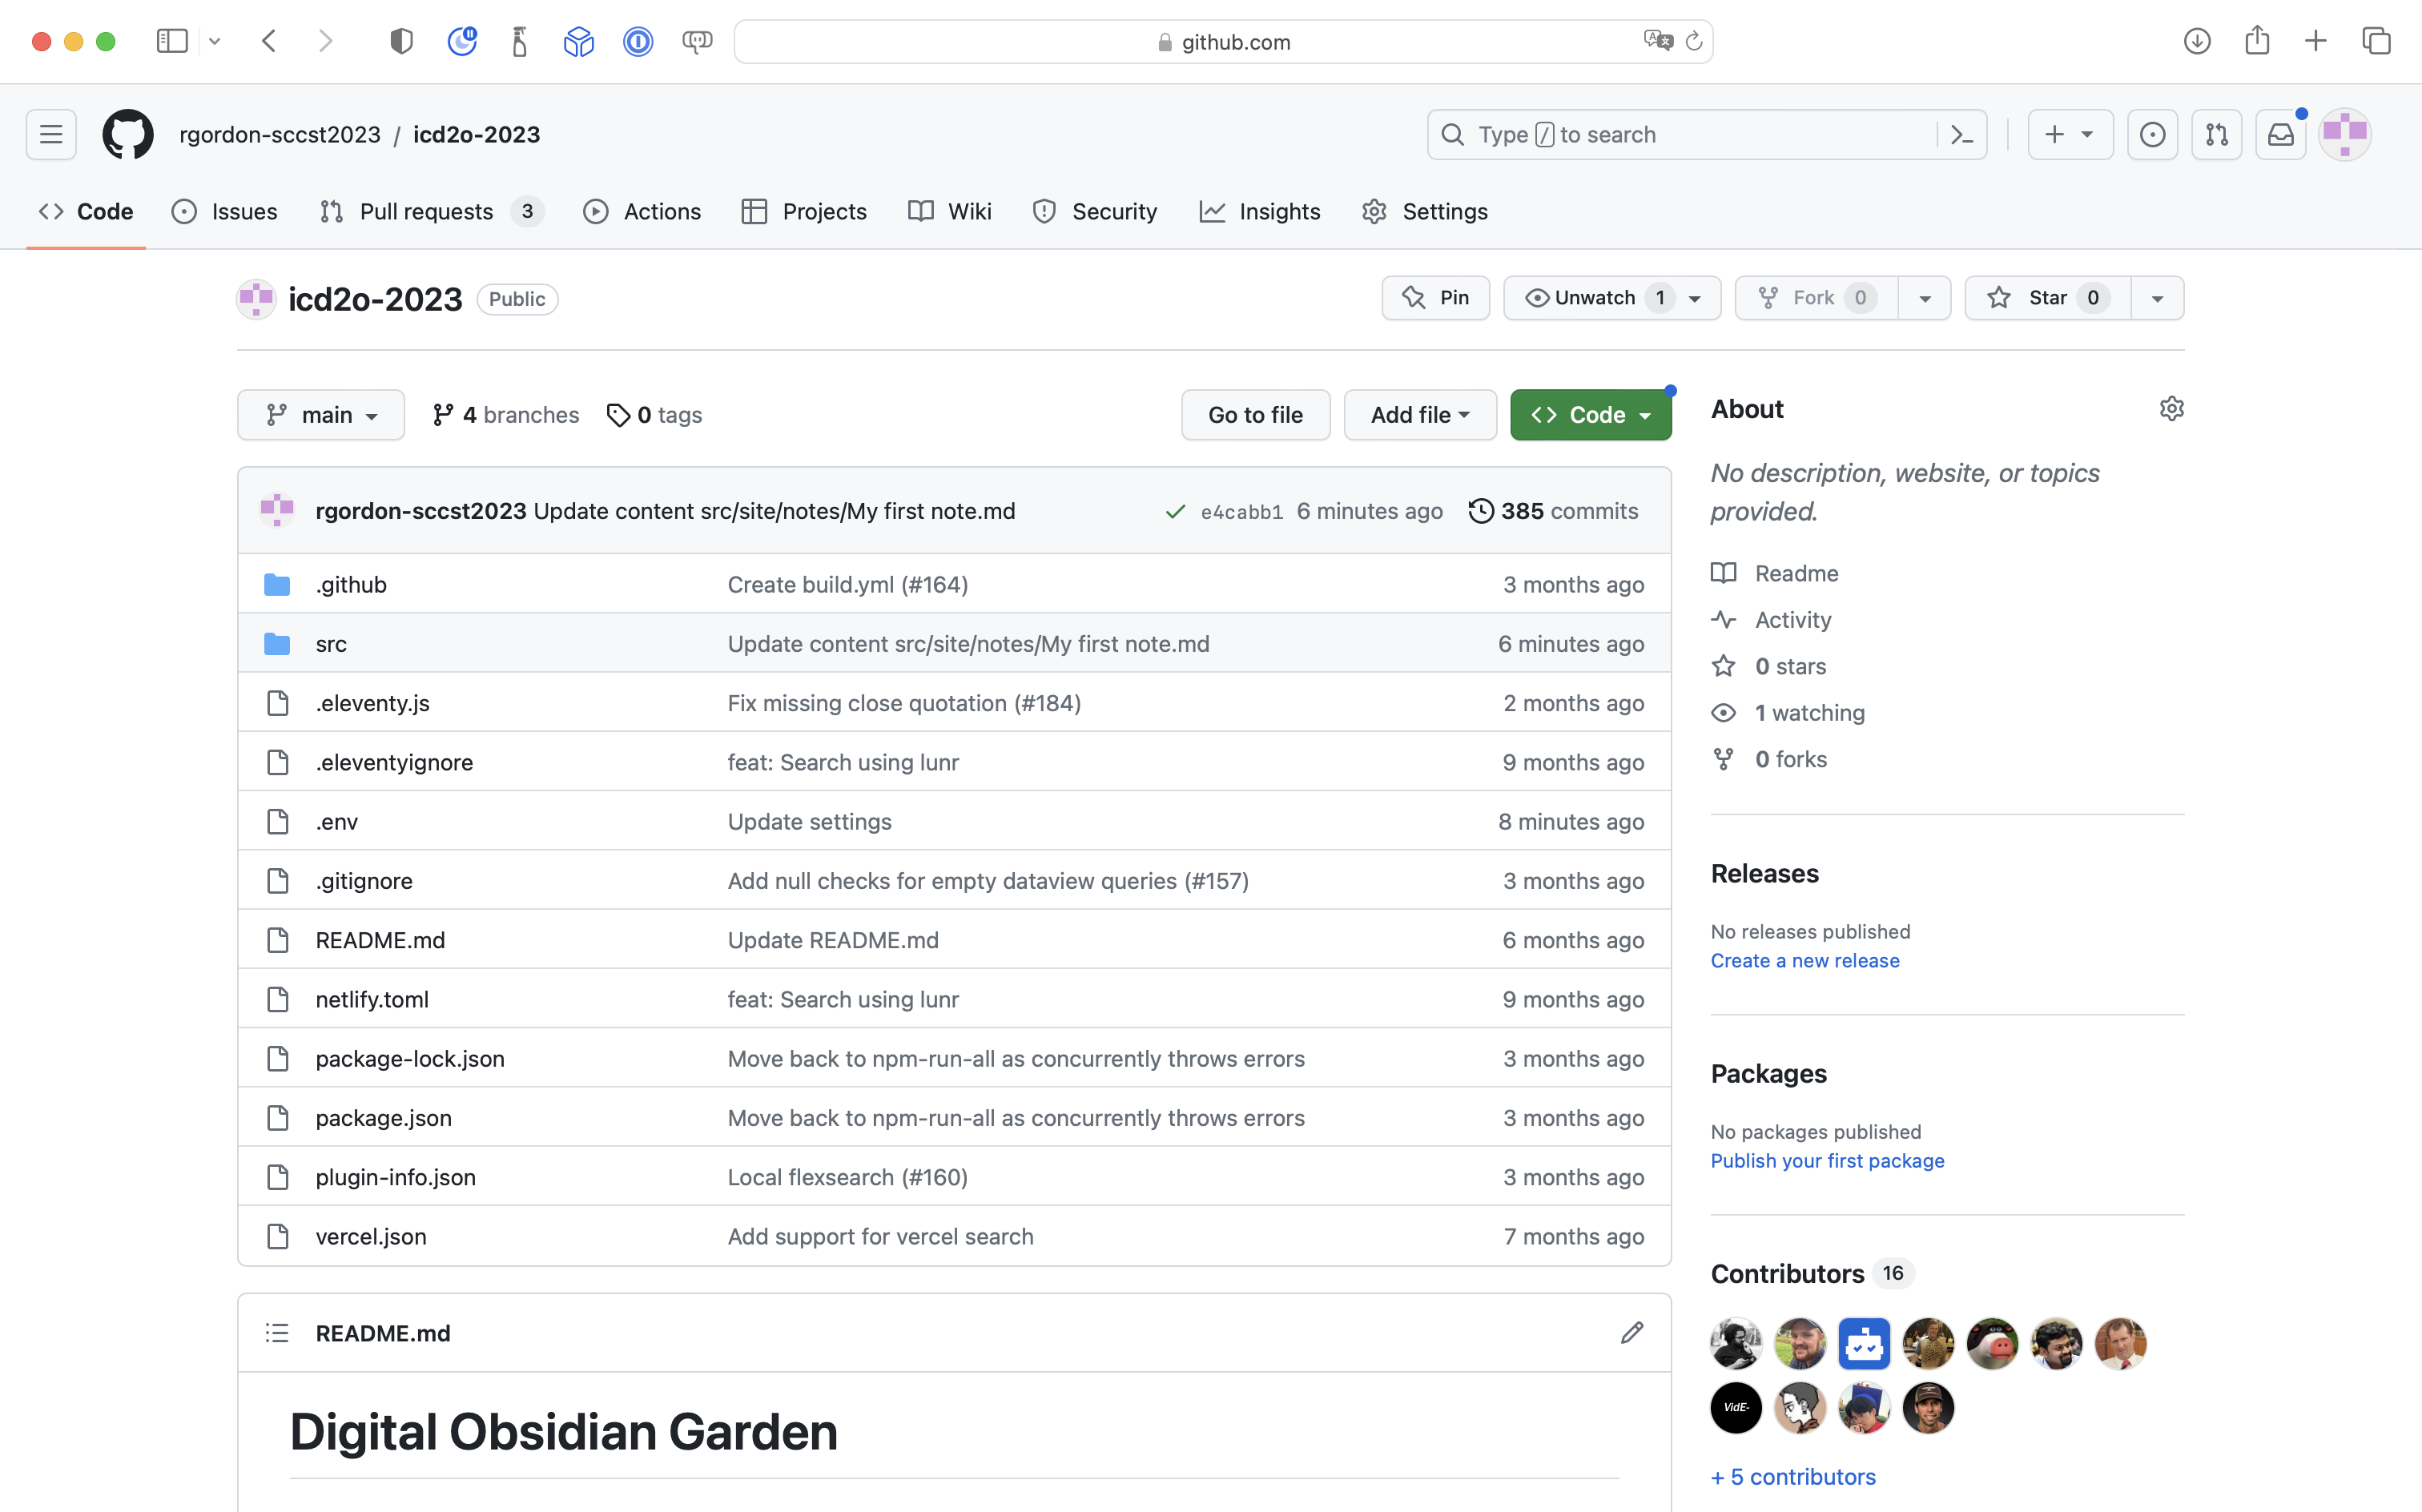
Navigate to the following path:
src > site > stylesOpen the
custom-style.scssfile by clicking the filename.Edit the file by pressing the pencil icon:
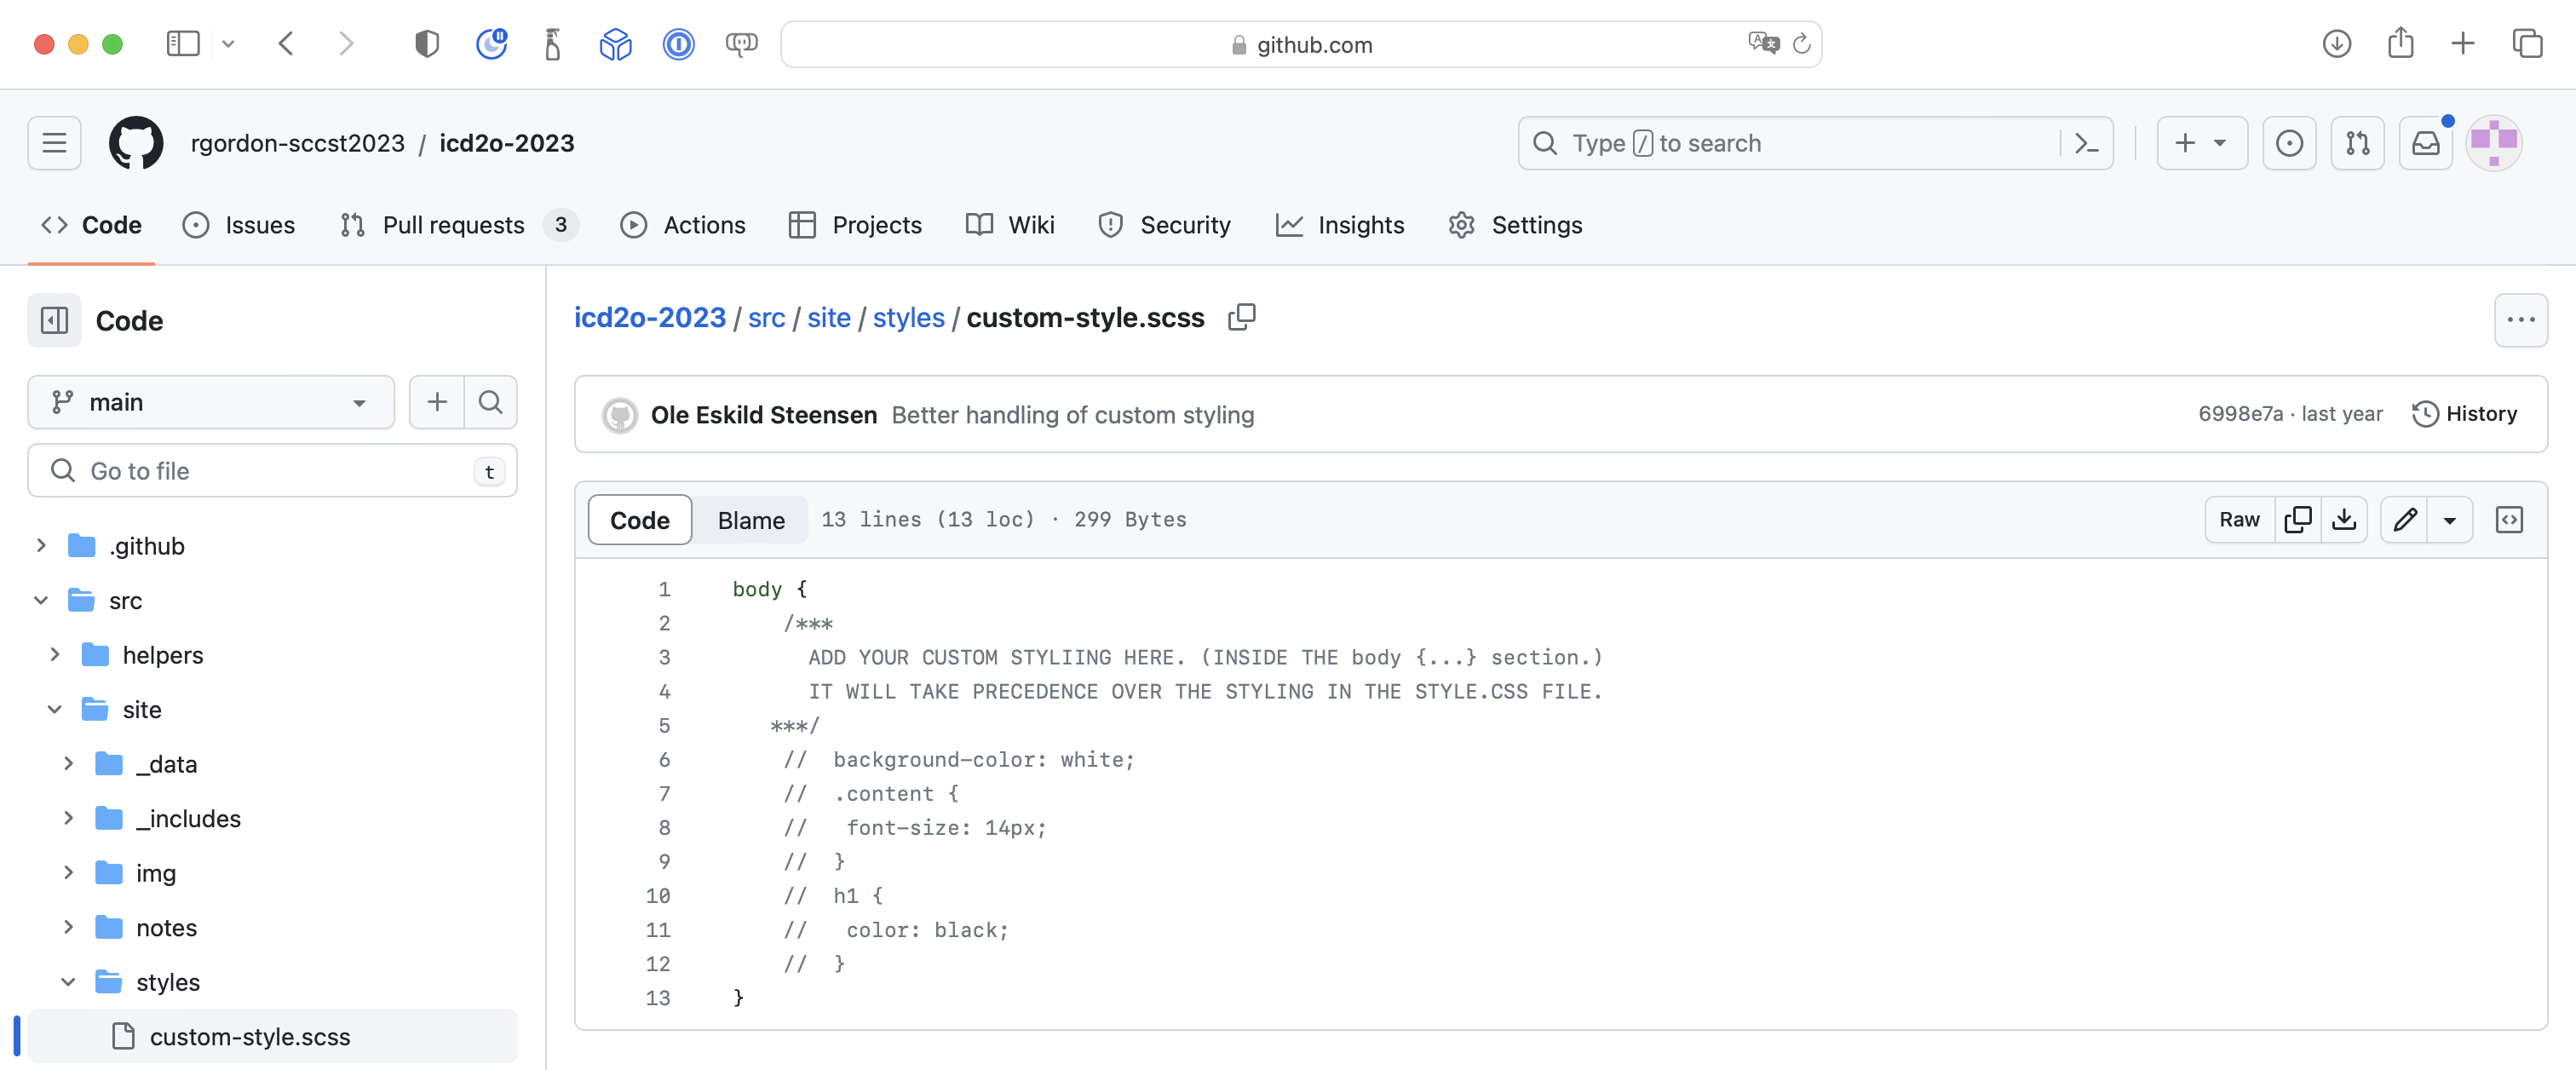
Replace the existing contents of the file with the custom CSS provided earlier, then press the green Commit changes... button.
In the dialog that appears, you may wish to provide a reasonable commit message, then press the green Commit changes button:
After committing, if you refresh the web page in GitHub, you will see the new CSS code.
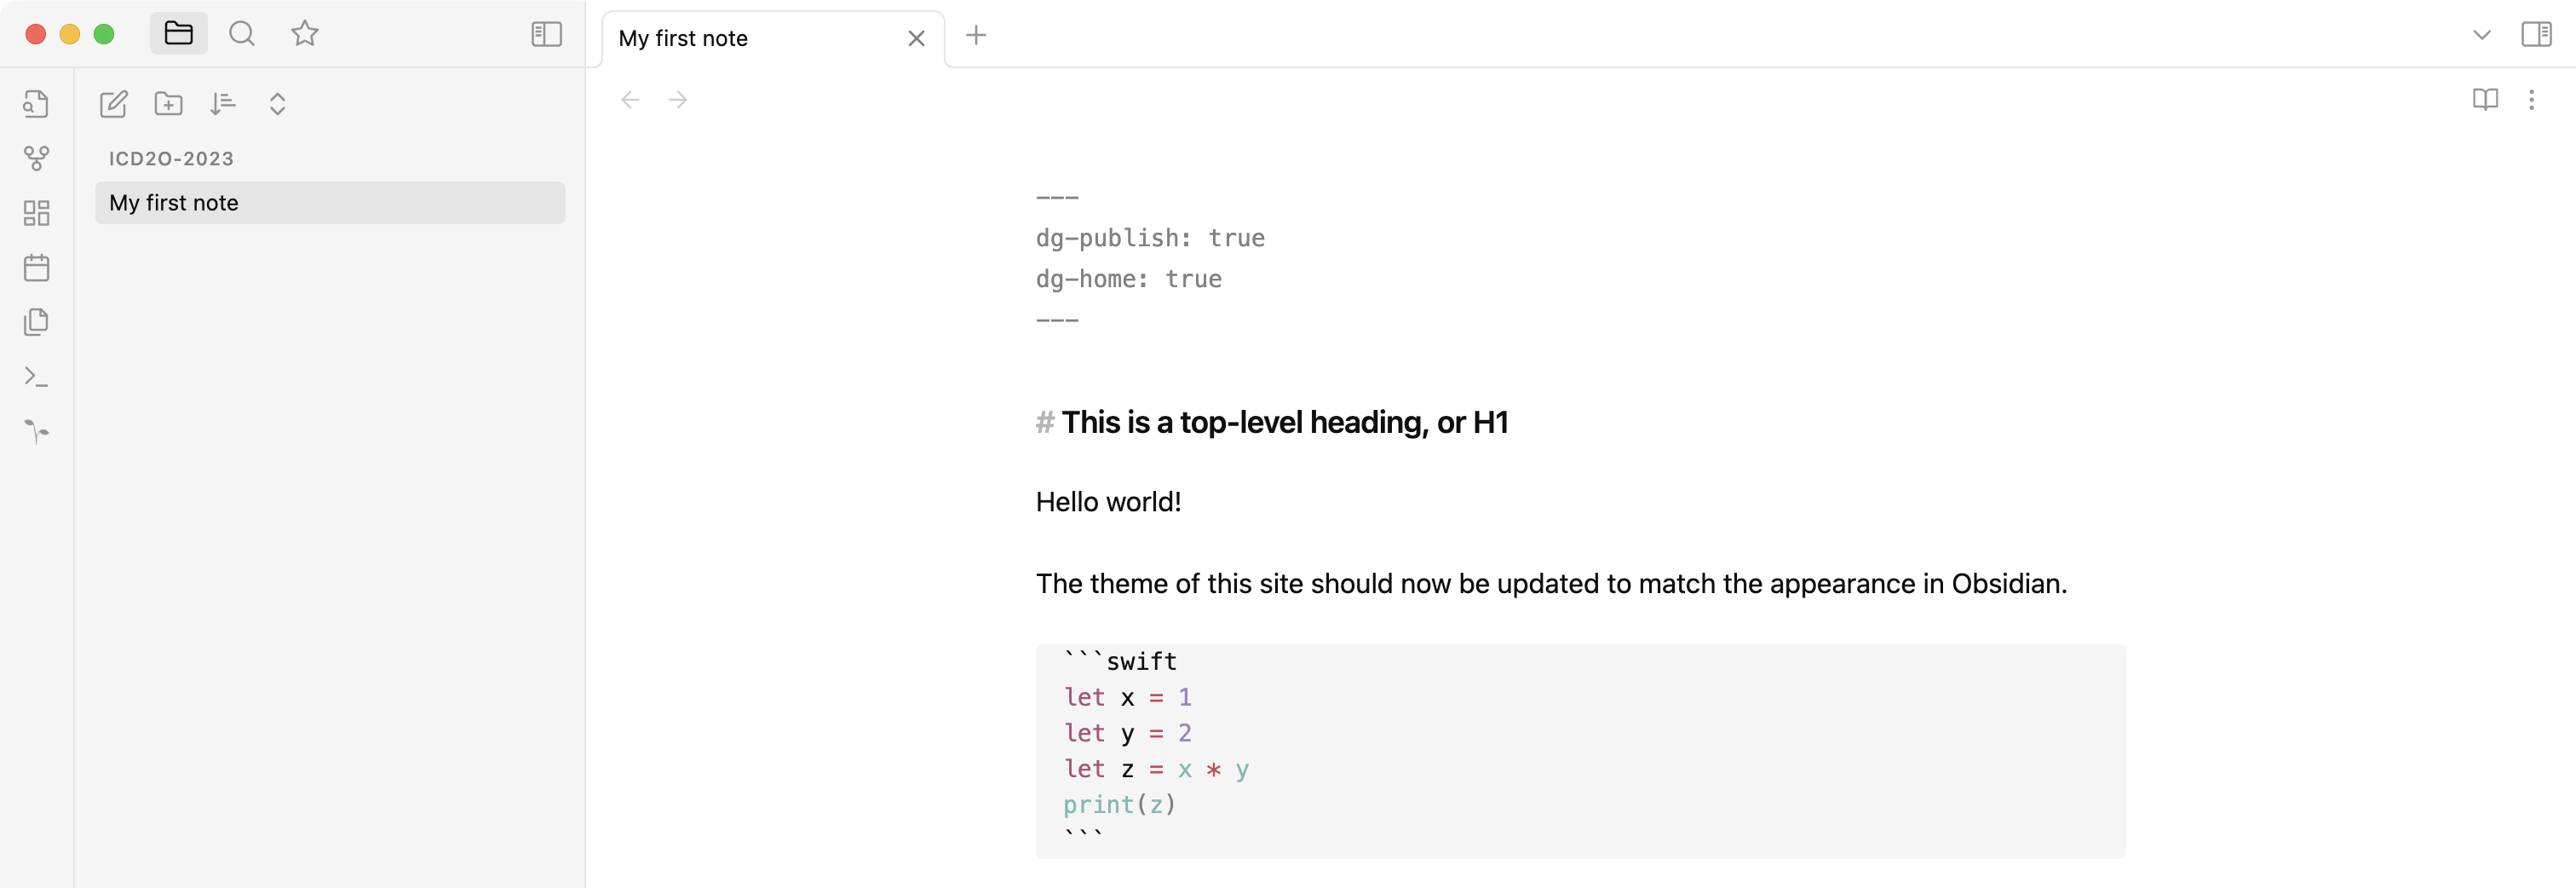
Now switch back to Obsidian, and try adding a short code block to your My first note page:
 ```swift
 let x = 1
 let y = 2
 let z = x * y
 print(z)
 ```
... like this:
Then, use
Command-Pon a Mac orControl-Pon a Windows machine to open the command palette in Obsidian.This time, search for and activate the Quick Publish and Share Note command. This is the same as manually triggering the commands
Add Publish Flag --> Publish Single Note --> Copy Garden URLin sequence.After giving Netlify a minute to publish your changes, paste the address of the page into a web browser window, and verify that the note was updated on the website:
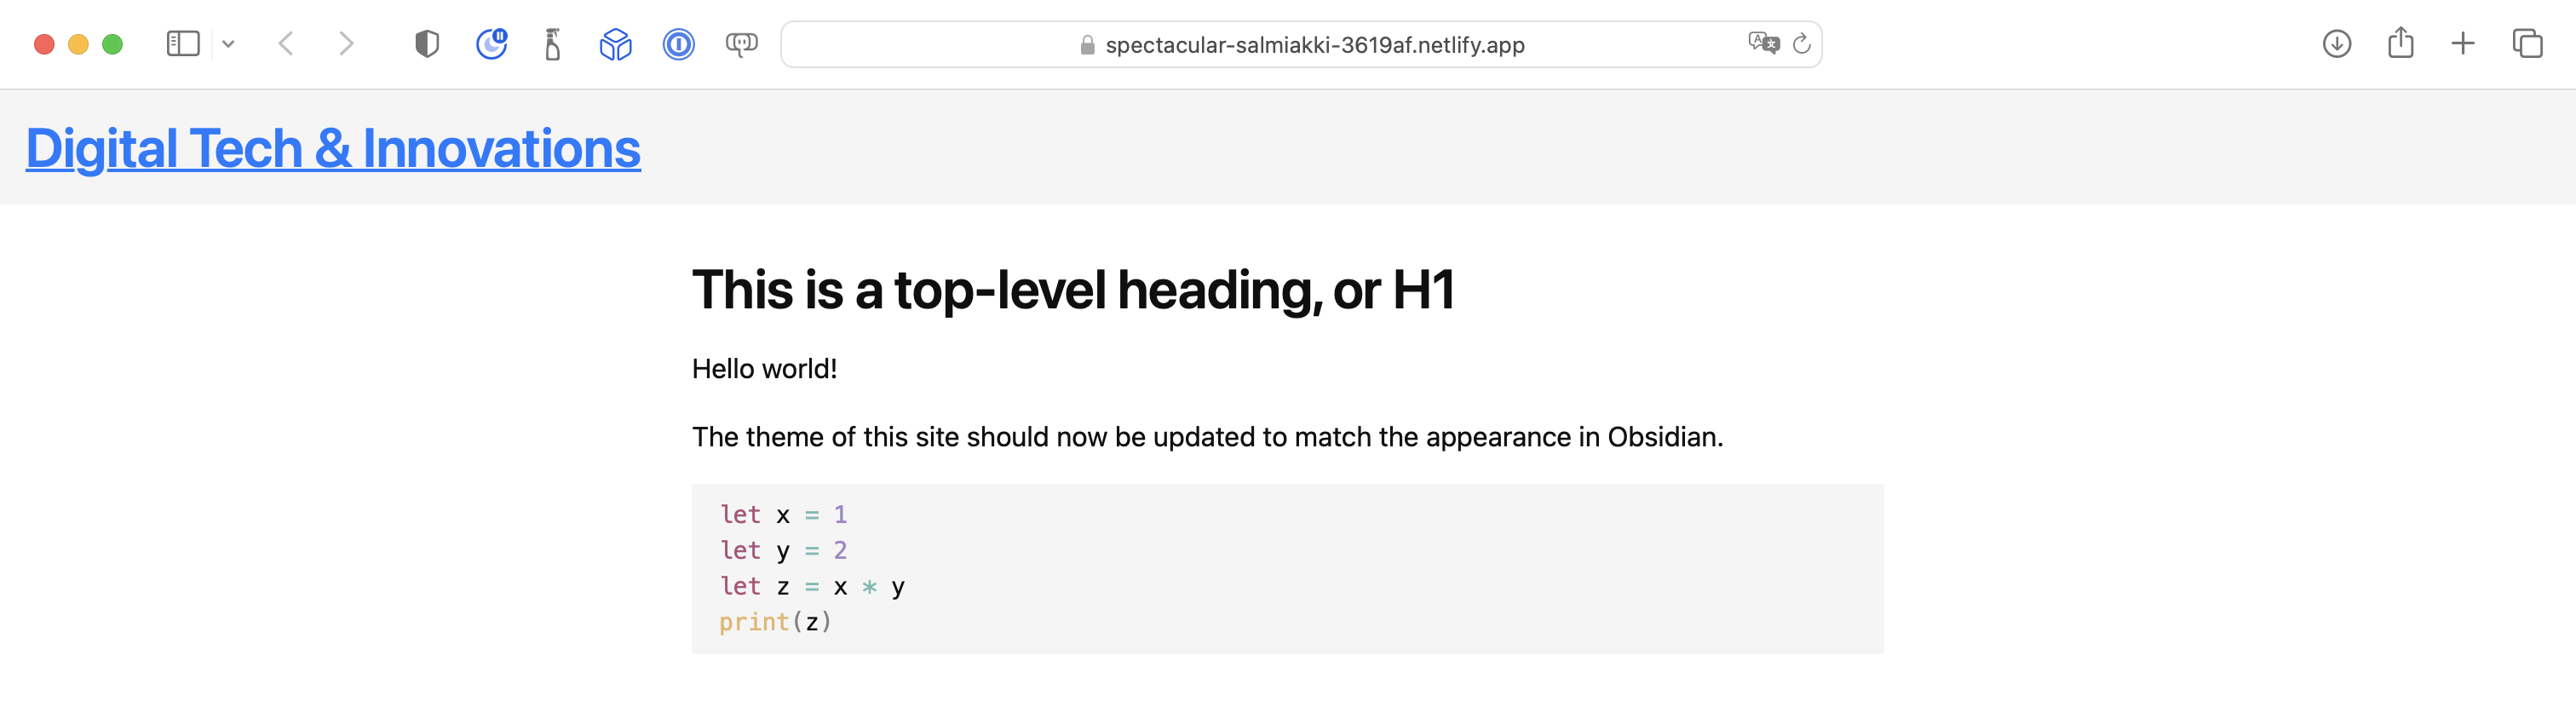
Check that the custom CSS code is working by zooming in on the code — you should not see any shadows.
TipRemember that if a deploy was not automatically triggered on Netlify, you can trigger one manually from your site's dashboard.
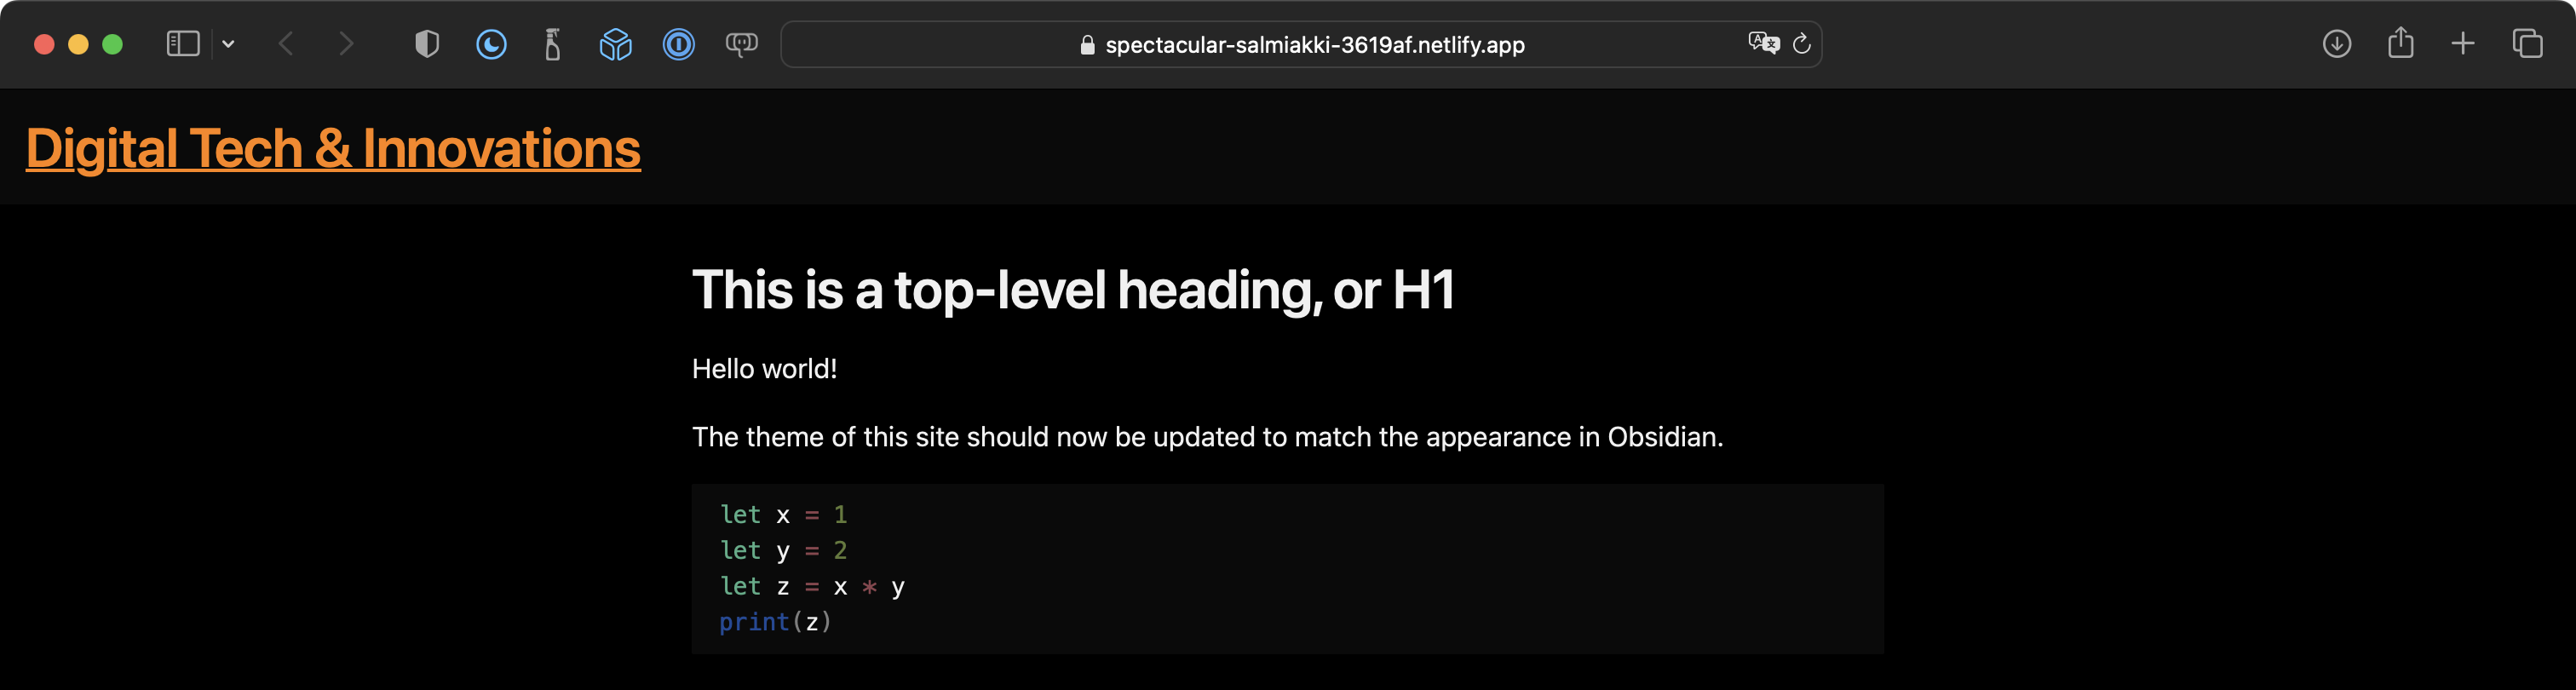
Additionally, if you change the appearance of your operating system or web browser to dark mode, you should see that the course website has adopted a reasonable color scheme:
Conclusion
This concludes part two of the tutorial. You now have a website whose published appearance will match what you see in Obsidian.
Next, learn how to manage screenshots in Obsidian and ensure that published images remain sharp.
← Publishing Setup | Screenshots →